We’re getting down to the wire down for Christmas! If some of your gift-giving involves gift cards or even cash, here are Two Easy Christmas Gift Card Holders for you to make.
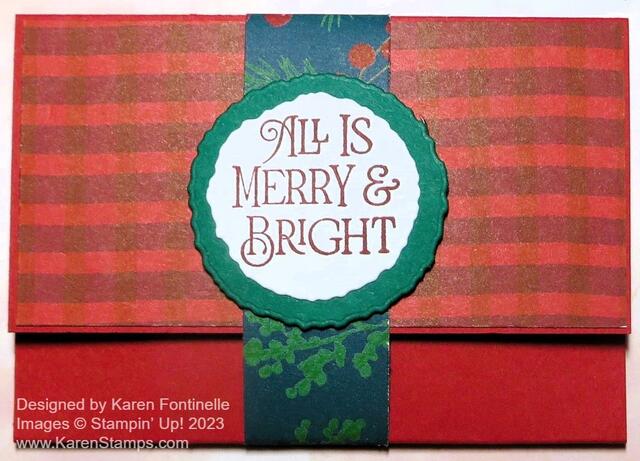
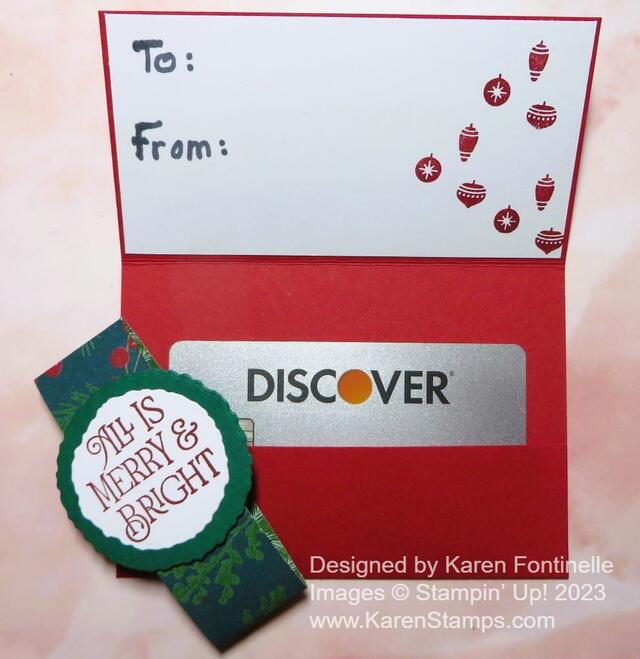
This first one is decorated with the Joy of Christmas Designer Series Paper. You don’t need very much so it’s a good way to use up scraps! Basically the bottom folds up to make the pocket for the gift card and the top folds down over the pocket. You can vary the measurements.
The Real Red cardstock is cut at 6 1/2″ long and 4 1/4″ wide. Score at 2 1/8″ and 5 1/8″. Fold the bottom portion up and adhere with Tear & Tape on each side to form the pocket. You could add a narrow strip of designer paper on the pocket if you wanted to. I left it plain.
For the cover, I cut a piece of Joy of Christmas Designer Series Paper in the red plaid paper at 2 1/8″ x 4 1/8″. For the inside top flap, I cut the same size piece out of Basic White to write “To: From” or write a personal message and stamped a few little ornaments.
To hold it closed, just wrap around a piece of cardstock or designer paper about 1″ x 6 3/4″ to make a bellyband. Don’t score first, just wrap it around, not too tight. then I stamped a greeting in the Brightest Glow Stamp Set in Real Red ink on Basic White and cut out with one of the small Deckled Circles Dies with a Shaded Spruce layer. Glue this over the seam of the belly band and nothing will show!
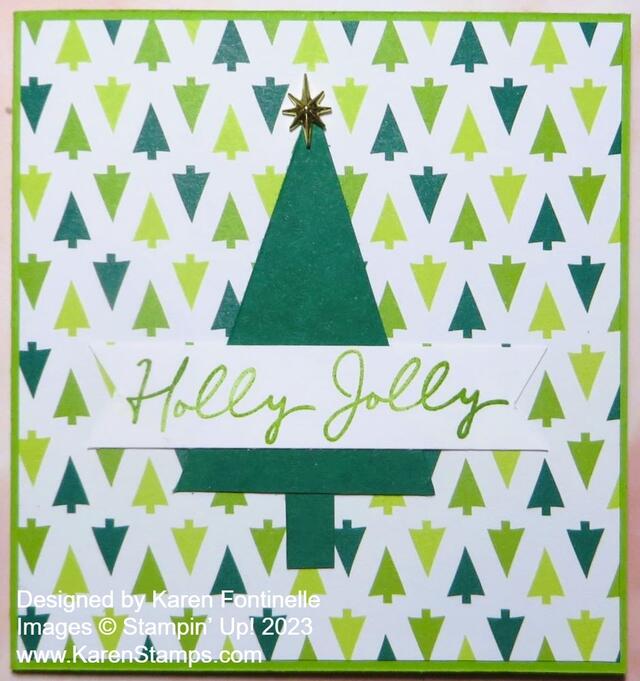
This second Merry Bold & Bright Christmas Gift Card Holder is also a very easy design. You can make it for any occasion and just decorate how you like.
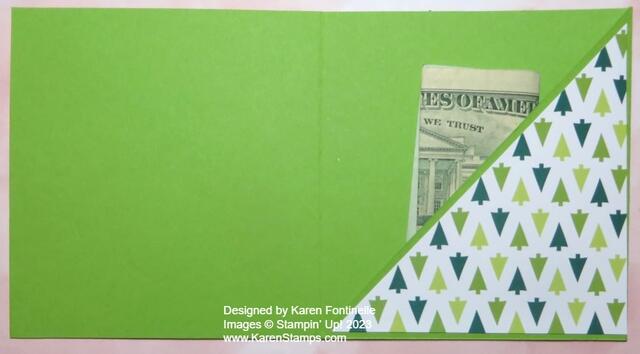
For this gift card holder, start with a 4 1/4″ x 12″ piece of cardstock. You could also use designer paper if you don’t have 12″ x 12″ cardstock.. Score this strip of paper at 4″ and 8″, basically in thirds since the paper is 12″ long. Then on the end section, cut from the score line down to the corner on a diagonal. This can be on either end of the card.
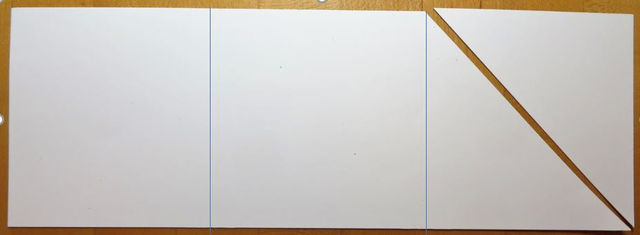
Put a strip of Tear & Tape Adhesive on the bottom of that section with the diagonal cut. Then fold that diagonal piece over to the inside panel next to it.
The gift card base is Granny Apple Green. For my sample I decorated the front with a piece of the little trees paper in the Merry Bold & Bright Designer Series Paper. Then I cut out my own little triangle tree out of Shaded Spruce and adhered a greeting across the front of the tree in the Merry & Bright Stamp Set.
For the inside, you can cut another square to layer on that corner but cut it down like a layer, then cut diagonally. That forms the little pocket where you can put a gift card or money.
These gift card holders are easy to make if you’d like to make some personalized ones!

