Category Archives: Valentine

Making Class Valentines

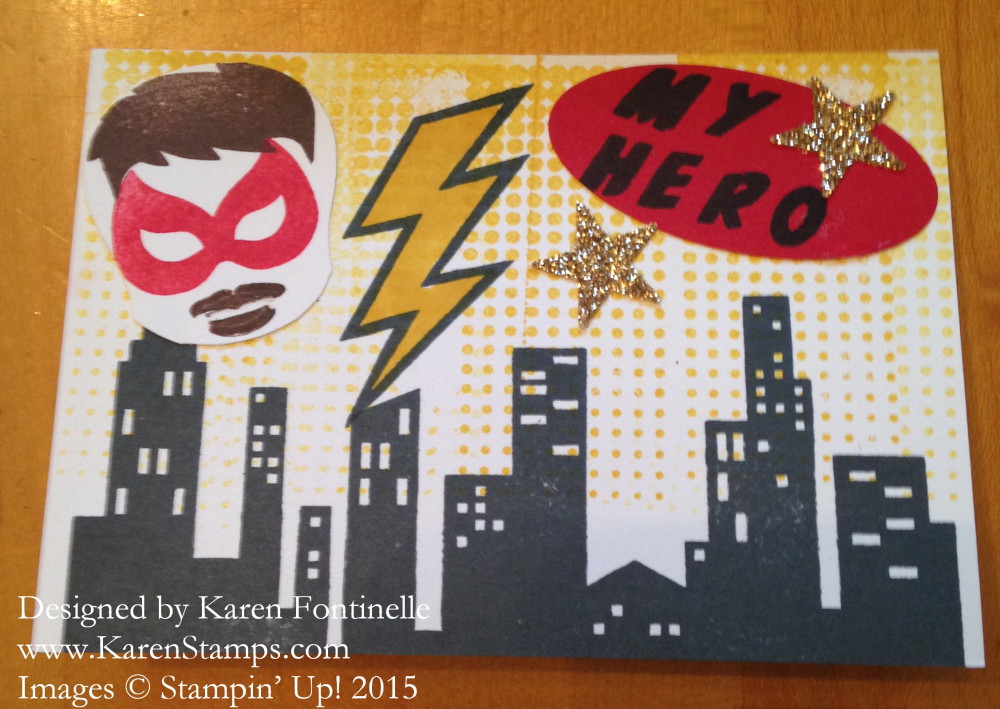
My Hero ValentineThis weekend I had the pleasure of having two moms come over to make class valentines for their three children’s classes. One daughter came along to help make the valentines for her class and her brother’s and the other mom brought her teenage goddaughter along to help out. We all had so much fun! That’s what happens when you stamp with nice people!

I designed the superhero valentine in the photo above using the Calling All Heroes Photopolymer Stamp Set, and we made fifty of these for the boys to give out to their classes. You can easily make female superheroes as well with this set if you want. I found some retired small notecards to use that were just the right size so that saved time cutting and scoring paper. There were quite a few steps involved but we didn’t mind the time because it’s what we enjoy doing.

We made quicker work of cutting out the faces by punching them out with the Stampin’ Up! Owl Punch. Just trim off the owl feet from the top of the superhero’s head and round off the chin area which was the top of the owl! You can do it before or after stamping, depending on what works for you. With the photopolymer stamps, you might be able to combine the hair and the mouth on one block and stamp once and then add in the mask.

Tomorrow I will show you the “girl” valentine! So pretty!

Don’t forget, today is the last day for the current Stampin’ Up! Weekly Deals!  Order before midnight MT tonight if you want any of these products.  Remember, with a $50 purchase you also choose a FREE Sale-A-Bration product. Note the Skin Tone Blendabilities Markers on sale!  

Just shop at my Stampin’ Up! Online Store!

Stampin' Up! Weekly Deal Jan 20 2015


Easy Red, Black and White Valentine Card

Easy Red, Black and White Valentine Card

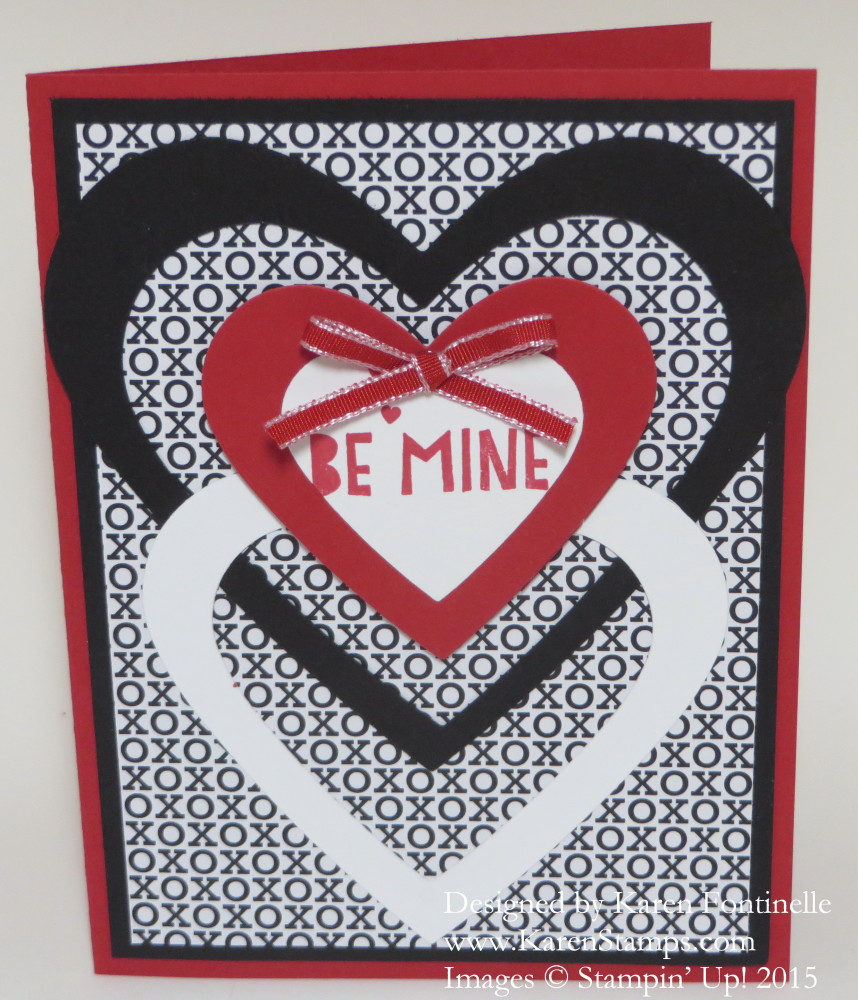
Since I’ve been talking about using up scraps recently, I had to show you this card I made in minutes from a few extra pieces I found on my table. They turned into my easy red, white and black Valentine card! Some other day when I was cutting out hearts with the Hearts Collection Framelit Dies I just saved these scraps. This card began when I just paged through the Stacked with Love Designer Series Paper Stack and chose this paper with the x’s and o’s. I was debating exactly what to put on the front when I remembered these spare hearts and things over at the corner of the table. When I found them it was easy just placing them on the card and feeling satisfied with my creation. Then I just added a little bow with the Real Red 1/8″ Taffeta Ribbon. The greeting is stamped with the You Plus Me Stamp SetI suggest the Bundle of Stacked with Love Paper Stack and the stamp set and save 15%!

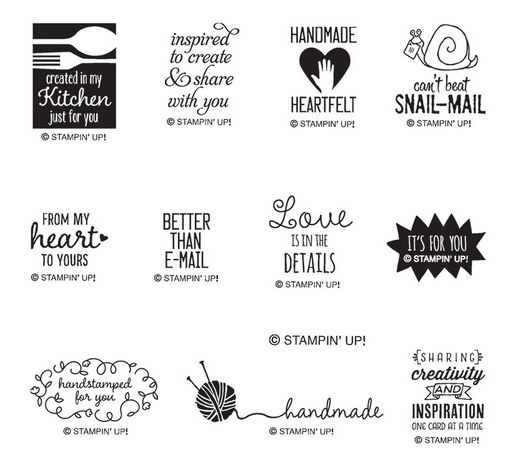
Don’t forget the new stamp set, Better Than E-mail Photopolymer Stamp Set! If you are making and selling cards, even if you are not a Demonstrator, you must add the Stampin’ Up! copyright stamp to your cards or any Stampin’ Up! images you are selling per the Angel Policy. Even if you are just making cards, I think these are great to stamp on the back just like the big card companies! Then sign or initial your card and put the date if you like.

Better Than Email Stamp Set

These can be ordered in my Stampin’ Up! Online Store!  And with a $50 purchase you can choose a FREE product during Stampin’ Up! Sale-A-Bration!

Make a Card From Scraps

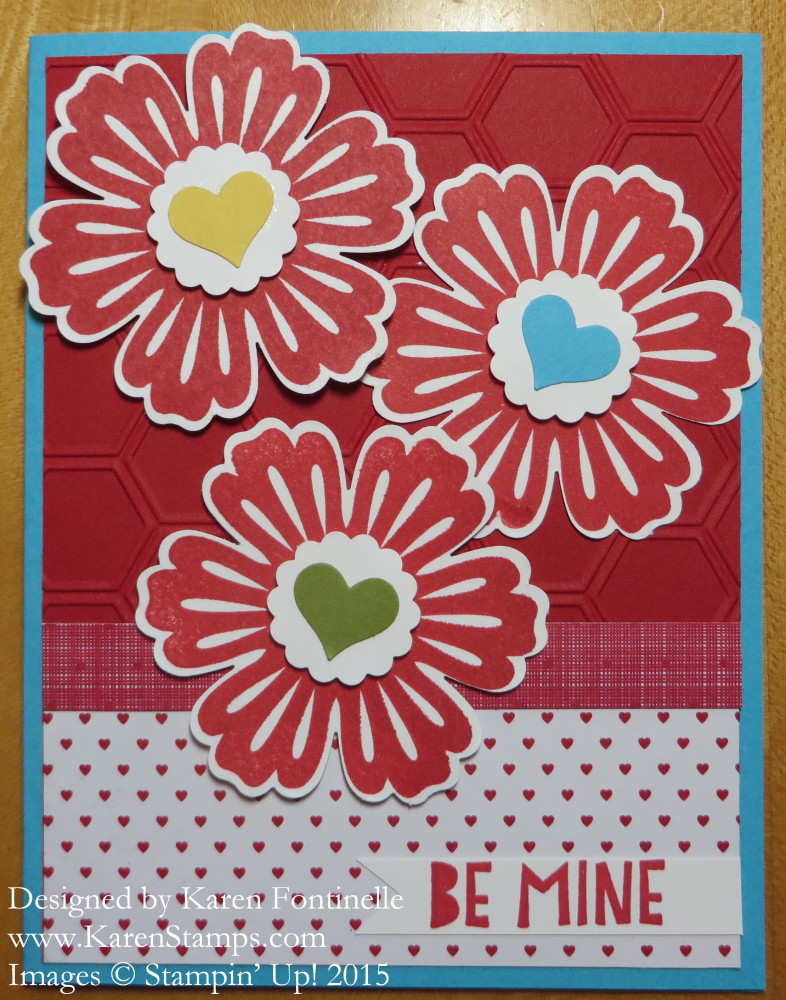
Make a Card Out of ScrapsOver the weekend, I found a plastic bag full of paper scraps, and I made this Valentine card mostly out of those scraps! My “system” is to shove scrap pieces into the card stock package, but these must have been some that were just loose for a long time and finally got collected into one bag when I HAD to clean up. Some of the colors were even retired! These Mixed Bunch stamps were already stamped on some scraps so I punched those out with the Blossom Punch. For the flower centers, I copied an idea I saw on Pinterest, making centers from little hearts! I used the heart punch in the Itty Bitty Accents Punch Pack and the 7/8″ Circle Scallop Punch.  The Honeycomb Embossing Folder was also in the bag of scraps so I used that as my background layer on a card base of Tempting Turquoise since the weather has warmed up and the sun has come out.  I thought we needed a bright card! The designer paper on the card is from the Stacked with Love Paper Stack in the Occasions Catalog. The greeting is stamped with the You Plus Me Stamp Set. There is also a bundle if you like that paper and stamp set, the You Plus Me Bundle.

Find some scraps that you have and make an effort to use them in a card or other project today!

Weekly Deals

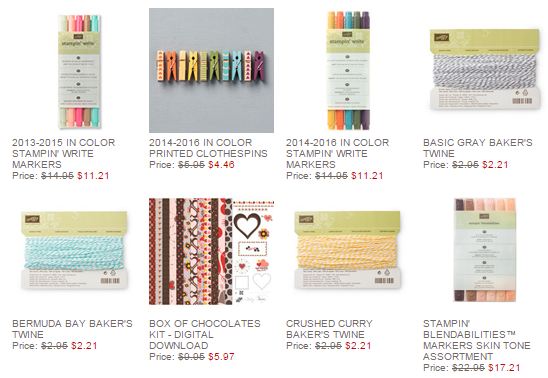
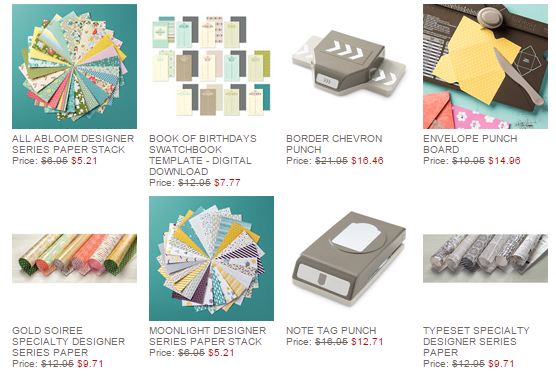
Here are the new Stampin’ Up! Weekly Deals for January 20 -26, 2015!  If you need markers or baker’s twine you are in luck this week!

Stampin' Up! Weekly Deal Jan 20 2015


Find all these good products in my Stampin’ Up! Online Store HERE! 

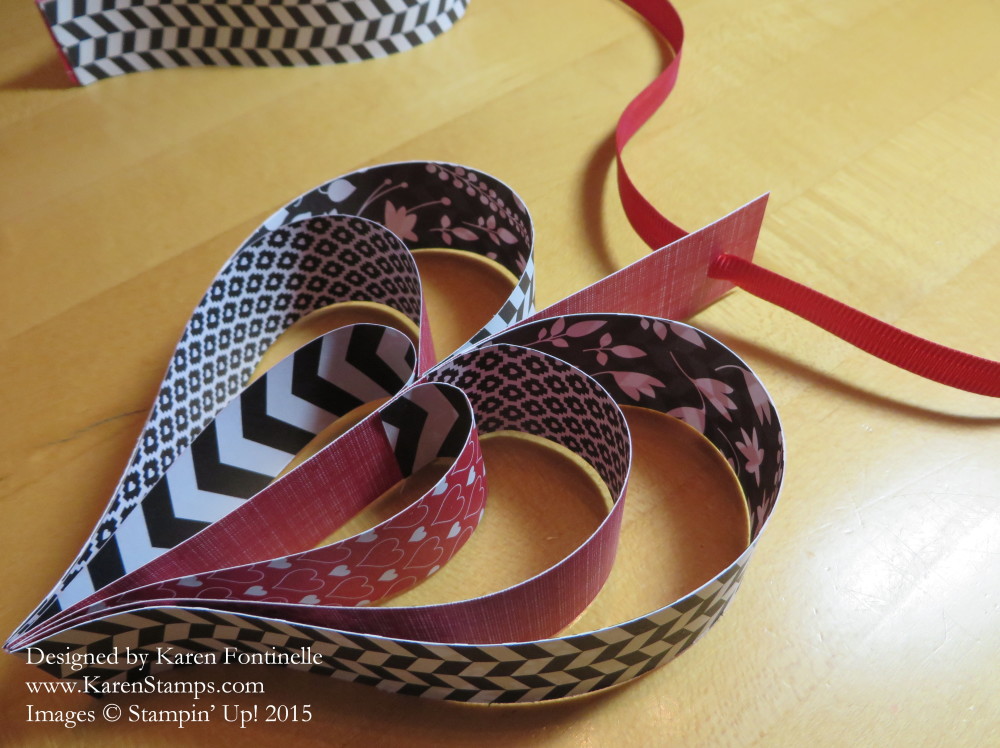
Make a Heart Garland for Valentine’s Day

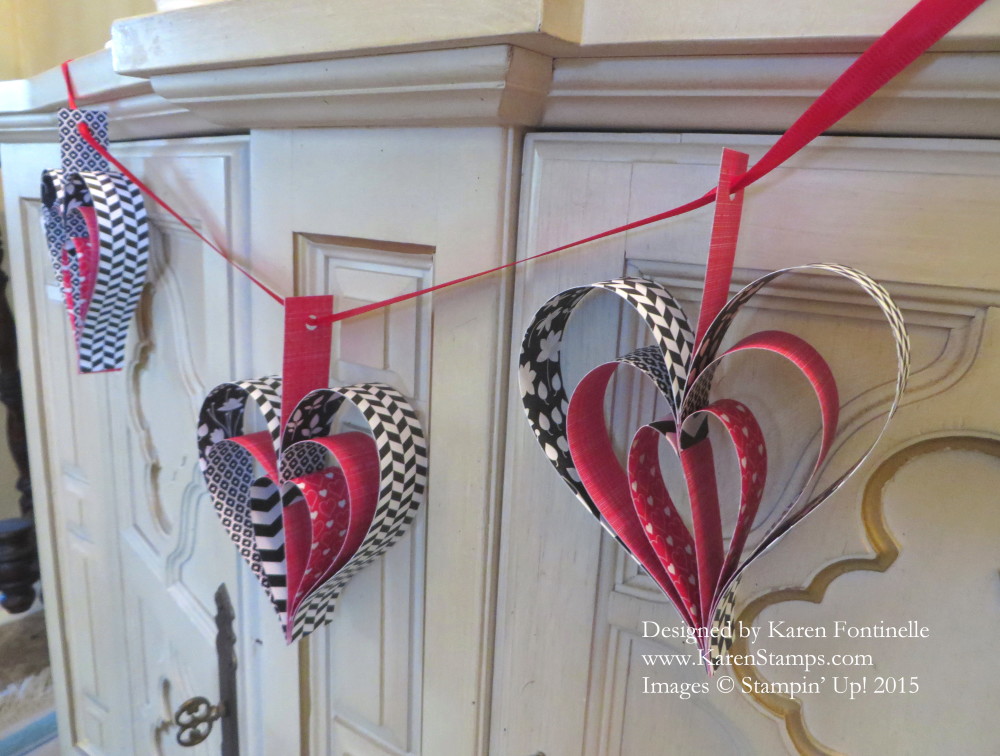
Heart Garland Hanging

These heart garlands made with strips of paper are quite popular on the internet. Once I found one of these hearts, I found them everywhere! I wanted to use the Stacked with Love Designer Series Paper Stack but I also needed 8″ long strips. Luckily Stampin’ Up! has the Back To Black Designer Series Paper that I could use with the Stacked with Love papers.

There are some other methods of assembling them, but they are all easy to do. While we think of hearts for Valentine’s Day, this garland could be made for weddings or party decorations. Change the paper color and design for other occasions. Think how cute this would be for a baby shower or bridal shower!

Heart Garland One Heart

These are the instructions I followed to make these paper hearts. You can also find slightly different

directions using staples instead of glue and assembling the strips in a different way.

Cut 1″ wide strips of paper in these sizes:

2 – 8″ strips

3 – 6″ strips

2 – 4″ strips

Lay these strips out on the table in this order:

8″, 6″, 4″, 6″, 4″, 6″, 8″

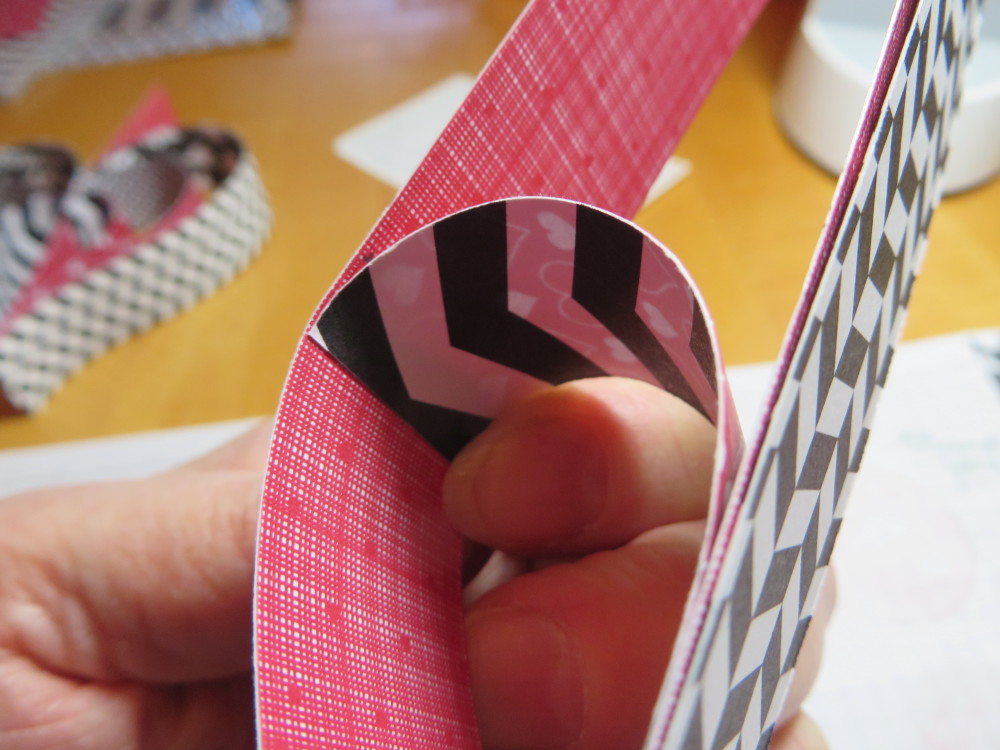
The 6″ strip in the center is the center strip that will remain straight and become the hanger. Checking the way you want your paper patterns to go, adhere the bottom edges of the three strips on one side of the center 6″ strip. One time I used Glue Dots and the other hearts I used Liquid Multipurpose Glue (the green glue!). You just have to hold for a few seconds when you use the glue until it sticks. Glue this stack of strips to the center 6″ strip also at the bottom.

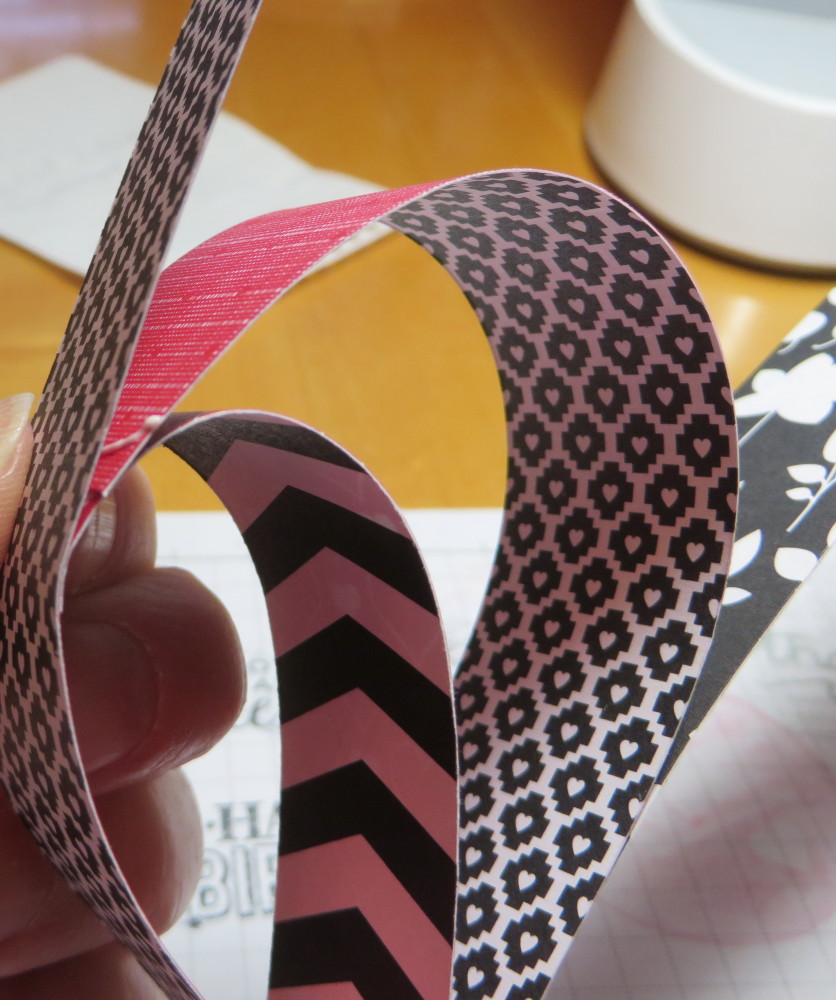
Then take the 4″ strip in the glued together stack, bend the top, put some glue on the end that will attach to the middle area of the center 6″ strip.

Heart Garland Strips Glueing

Next do the same with the 6″ strip.

Heart Garland Strips Glueing2

And finally the last 8″ strip.  Then you have half of your heart.  Do the same with the strips for the other side.

Punch a hole in the top of that center 6″ strip for each heart to thread ribbon through to hand. I used the Real Red 3/8″ Satin Woven Ribbon that was in the Holiday Catalog. I wish they had carried that over because it is SO pretty! But you can also use the Real Red 1/4″ Cotton Ribbon or any ribbon of your choice. You might even want to tie extra ribbons on between the hearts or add other decorations of some kind.

This is an easy papercraft to make and certainly is versatile for many occasions! All you need are paper strips and adhesive!

For any papercrafting supplies or stamping supplies you need, please visit my Stampin’ Up! Online Store. I can always put your order in for you if you like. During Sale-A-Bration, choose a FREE product from the Sale-A-Bration Brochure with every $50 purchase (before shipping and tax).

Make a Pretty Love Card

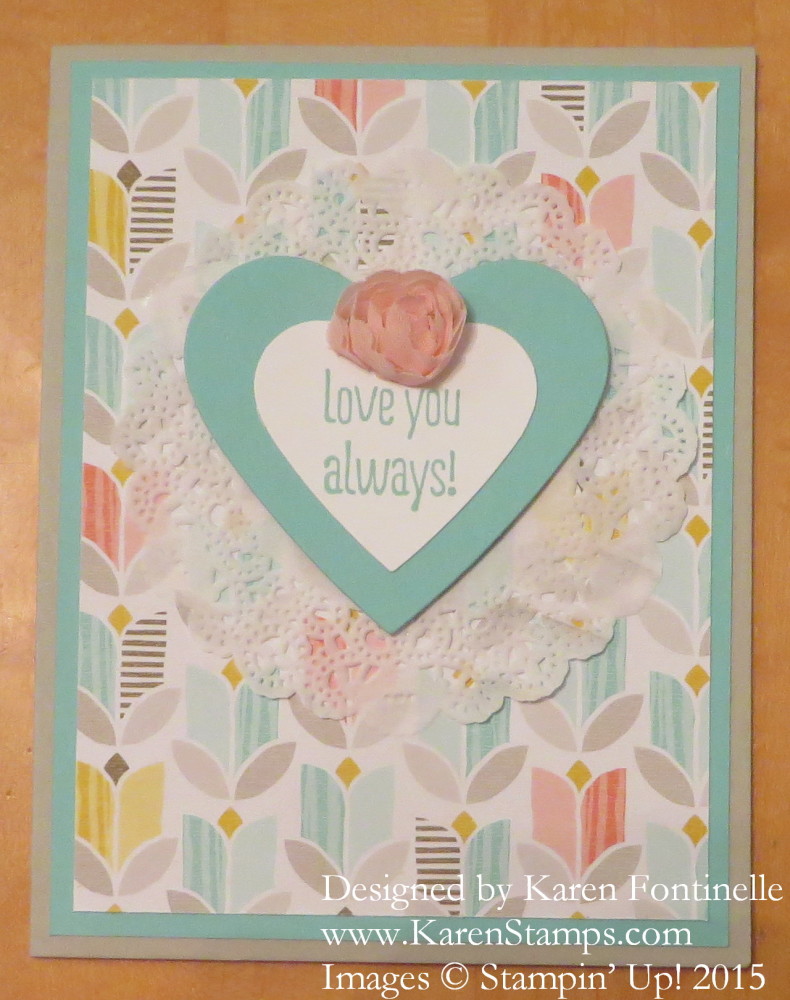
Pretty Love Card

Make a pretty love card or Valentine or whatever nice occasion card you want to call it with a simple heart and embellishment on some pretty background paper.  This paper, layered on Coastal Cabana on a Sahara Sand card base, is one that you can earn FREE during Sale-A-Bration going on now through the end of March.  The paper is called Best Year Ever Designer Series Paper #138633 and you can find it on page 4 of the Sale-A-Bration Brochure HERE. With just a $50 purchase of any current Stampin’ Up! merchandise you can choose any of the free items in the brochure. No limits! You can choose from ribbon and buttons to paper to stamp sets to Project Life by Stampin’ Up! to EVEN Blendabilties Markers on page 20!

As I was cutting and working with this pattern from the Best Year Ever DSP I really noticed how pretty it was! Such soft pretty colors designed into tulip or flower shapes! I didn’t want to detract too much from the paper so I kept the hearts simple and stamped a small size greeting from the Something To Say Stamp Set in the Annual Catalog, page 104.

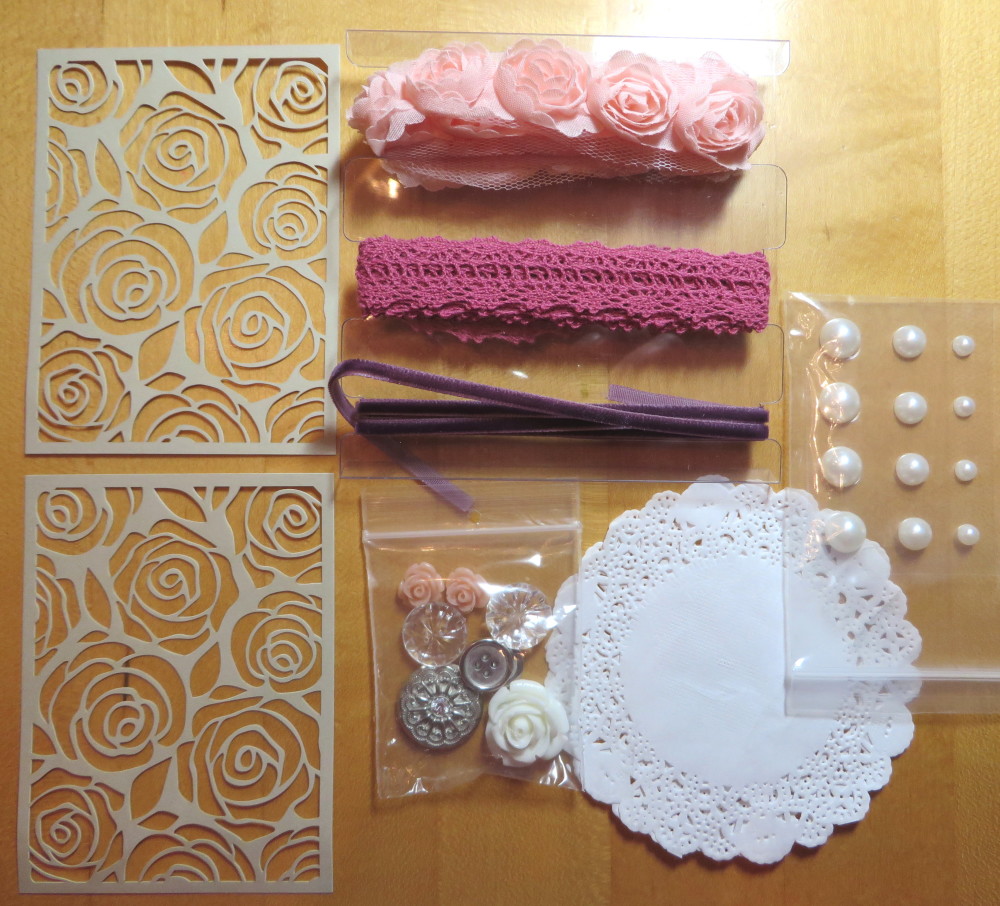
Of course I had to add some kind of embellishment, so I decided to get out the Artisan Embellishment Kit in the Occasions Catalog. I decided to use one of the doilies in the kit and one of the soft flowers. The ribbons and other embellishments in the kit are really pretty. Just a special touch to add to any card or project!

Artisan Kit

The back of every package of designer series paper has a listing of the colors that coordinate with that paper.  You can use that list as inspiration to help you design your project by choosing coordinating colors. I used to write the names of the colors on the back of the package after someone else figured it out! Now it is nice that Stampin’ Up! just adds the list to the package!

To shop and earn your free Sale-A-Bration gift, just go to my Stampin’ Up! Online Store!  Be sure to check all the categories in the left sidebar of the store, such as the Clearance Rack and the Weekly Deals, so you don’t miss a thing!

Email me at Karen@KarenStamps.com  if you want any of the Stampin’ Up! Catalogs!


You Plus Me Confetti Hearts Valentine Card

You Plus Me Confetti Hearts Valentine Card

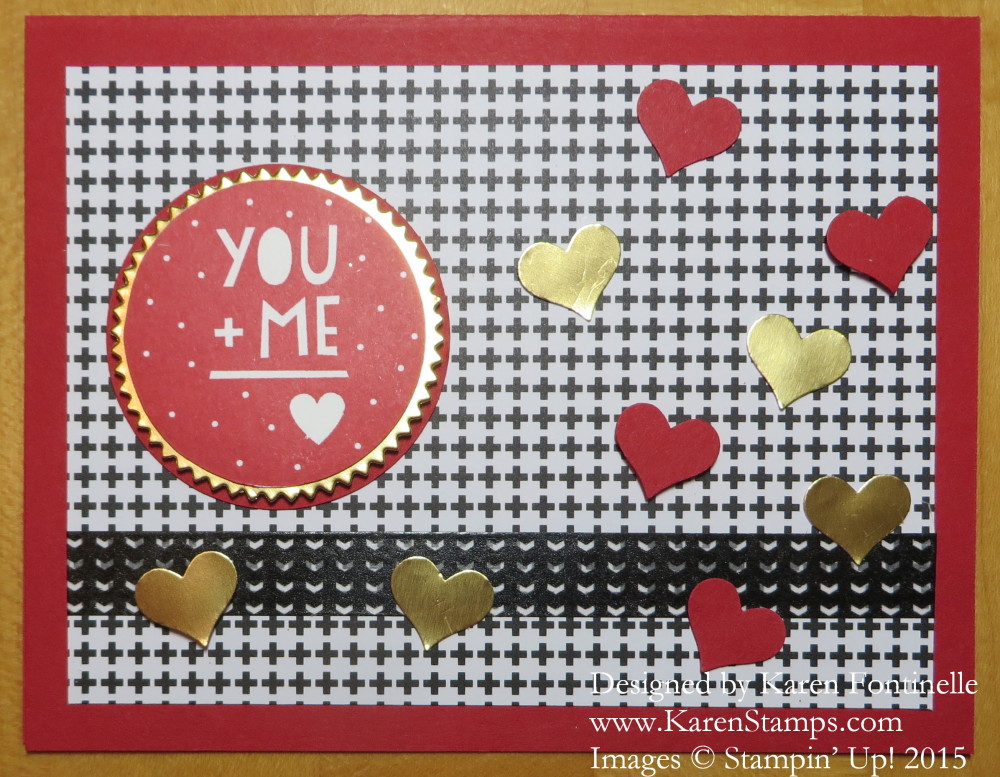
As I paged through the Stacked with Love Designer Series Paper Stack this black and white pattern caught my eye, and that was the start of this card.  And just because I wanted to use the Stacked with Love Designer Washi Tape I put a strip of it across the bottom of the card and I think it looks okay! The sentiment is from the You Plus Me Stamp Set in the Stampin’ Up! Occasions CatalogIt is punched out with the 1 3/4″ Circle Punch, layered on Gold Foil die cut from the Starburst Framelits Die and then layered again on the 2″ Circle Punch.

I suppose I was influenced by the star confetti in the shaker cards I was making with my December Paper Pumpkin Kit, so I punched a few hearts from Real Red and Gold Foil with the heart punch in the Itty Bitty Accents Punch Pack.  I dosubt you can have too many hearts on a Valentine!

If you need any Valentine supplies, remember with every $50 purchase you get to choose a FREE item from the Sale-A-Bration Brochure!

Shop for everything right HERE at my Stampin’ Up! Online Store!
New Catalogs! New Products! Free Stuff! at Stampin Up!

You Plus Me Card

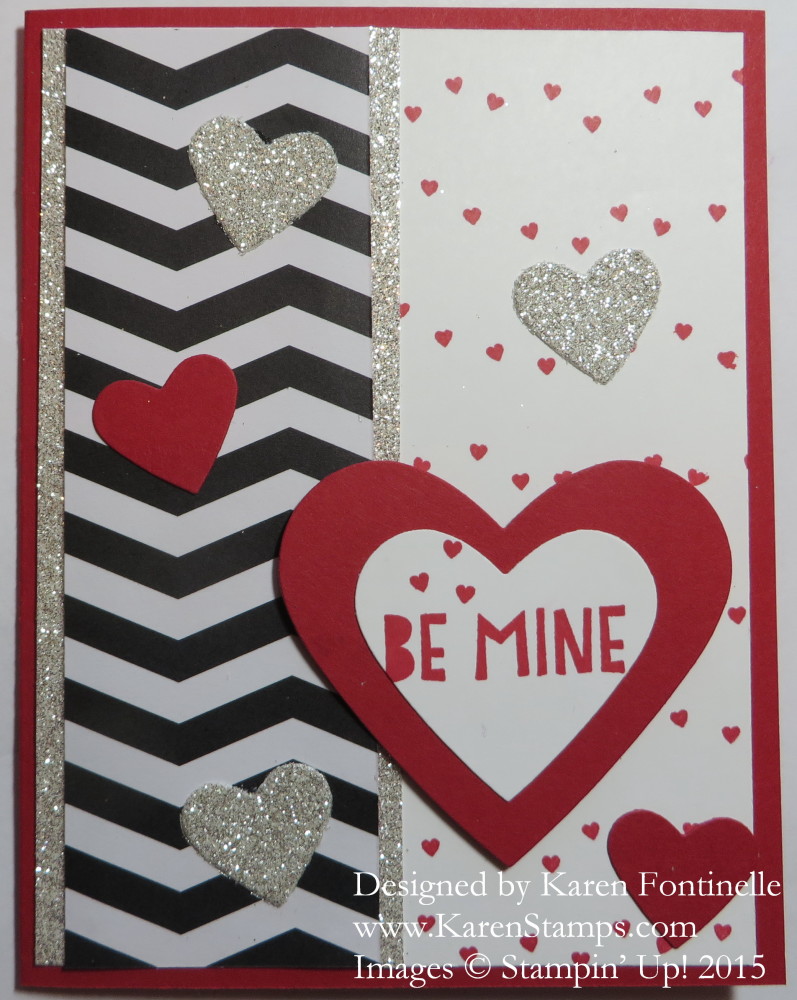
The stamp set, You Plus Me, to make this card is now available in the new Stampin’ Up! 2015 Occasions Catalog, which is live today! Yes, you can view it and order from it until June 2, 2015.  If my card above looks a little like the one from yesterday, it is very similar!  The same designer paper I used on yesterday’s card from the Stacked with Love Designer Series Paper Stack is just turned over to the other side, the black and white chevron pattern. To jazz it up a little I added some Silver Glimmer Paper to each side. The background on the Whisper White layer is stamped in Real Red Ink with a stamp in the set. I thought that was very cute! The hearts are die cut with the Hearts Collection Framelits Dies even the little ones.

Click on the Occasions Catalog photo below to view.

Stampin' Up! Occasions 2015 Catalog

Click to View

And the biggest Stampin’ Up! promotion of the year begins today as well!  Sale-A-Bration! 

During Sale-A-Bration, purchase $50 in Stampin’ Up! products (before shipping and tax) and choose a free Sale-A-Bration product from the Sale-A-Bration Catalog!

Stampin' Up! Sale-A-Bration 2015 Catalog

Click to View

As if all that wasn’t enough, here are the Stampin’ Up! Weekly Deals! Really, really great items discounted this week!

Weekly Deal Jan 6 2015

Click to View

For all your shopping needs, please visit my Stampin’ Up! Online Store today!

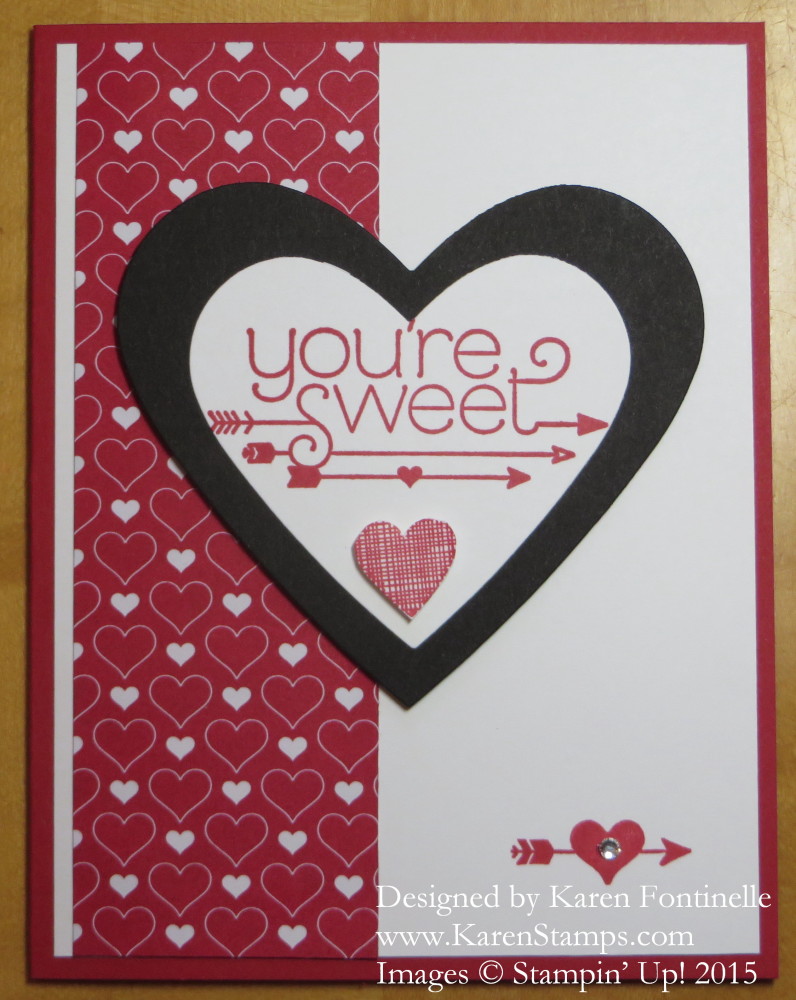
You Plus Me Heart Card

You Plus Me Heart Card

This is a sneak peek of the new stamp set You Plus Me, available tomorrow in the new Stampin’ Up! Occasions Catalog, plus the new Stacked with Love Designer Series Paper Stack. You can actually purchase the stamp set and paper stack in a Bundle and save 15%! It all starts tomorrow, January 6, 2015! And Sale-A-Bration also begins, so with every $50 purchase, you get to choose a free Sale-A-Bration item. Catalogs will be available online tomorrow! If you need hard copies, please just ask. I have some extras at the moment. On this card I also used the Big Shot and the Hearts Collection Framelits Die.

That’s why I am off to a slow start stamping today!  I haven’t taken down my Christmas tree or put away all the Christmas decorations yet. In order to put up the tree we have to move a desk that is normally by my kitchen table and heaped with my current stamping stuff! So that’s in the other room and so are a lot of my stamping products. Since we actually ate Christmas dinner at the formal dining room table, I had to move my Big Shot and mess off of that. I did find my Big Shot under a chair today and the container with my dies and framelits and embossing folders underneath something else! So now, at least, I am back in business with my Big Shot and accessories!

If you wonder why I used a black heart, it’s because I was influenced by the opposite side of the heart paper, which is a black and white chevron design. Maybe I will make a similar card with the other side of the paper! I had also intended to use some of the coordinating Stacked with Love Designer Washi Tape but I forgot! Next time!

It’s so fun to have new stamping products to play with, especially after everything being about Christmas and the holidays! If you place your spring time order tomorrow, in just a few days YOU will have your new products as well!

But before you think about tomorrow, go through the Holiday Catalog another time and also check the Year-End Closeouts in the Stampin’ Up! Store and see if there is anything you want as these will end tomorrow. Go to my Stampin’ Up! Online Store now and check through the categories on the left sidebar to make sure you don’t miss a thing! Remember, even if you looked at the Closeouts early on, they added more items at some point and reduced some prices even more! Really, you should check it, just in case!

Year-End Closeouts Banner

New Stamp Set, New Weekly Deals from Stampin’ Up!

Snuggles and Smooches Stamp Set

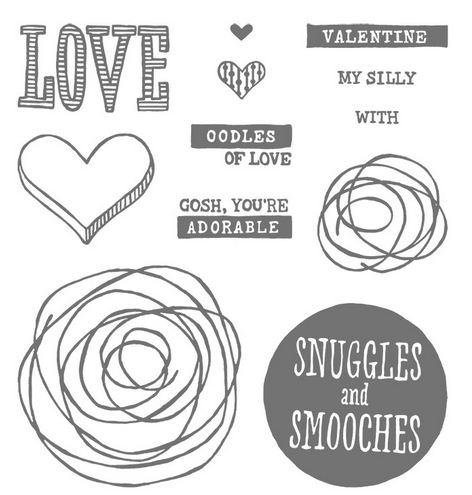
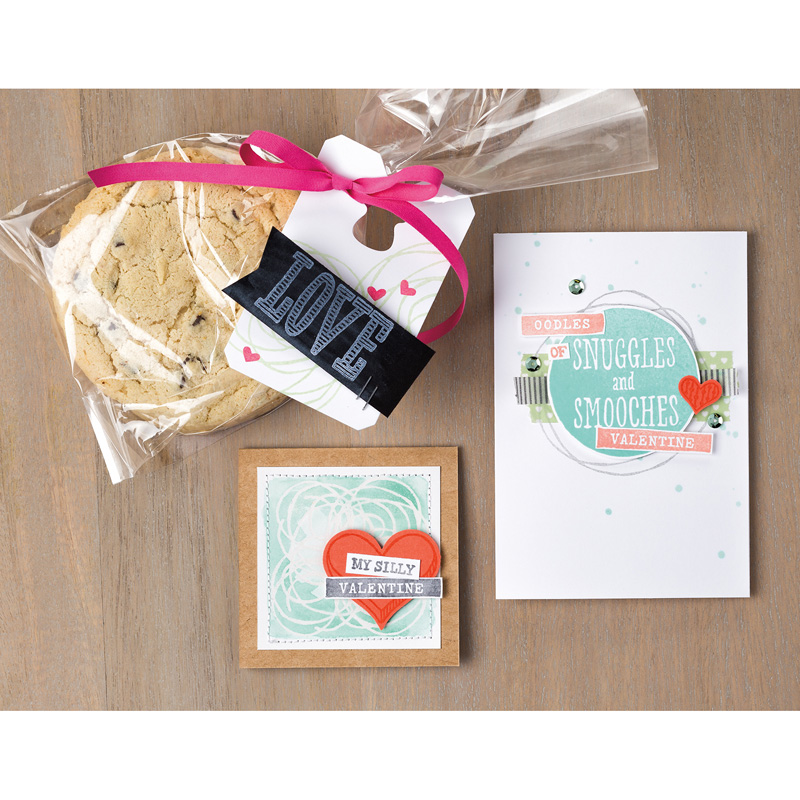
What a nice surprise this morning to check the latest Stampin Up! updates and find out they have a new stamp set for us! This one is called Snuggles and Smooches! It’s a photopolymer stamp set that CAN be used for Valentine’s Day but really can be used any time. The swirls match the trend of winding up some linen thread or twine as a design element on a card that you have probably seen. You can read more about the creation and use of this stamp set by the concept artist on the Stampin’ Up! Blog here. If you would like to order it, you can find it HERE in my Stampin’ Up! Online Store!

Snuggles and Smooches Stamped Projects

And the new Stampin’ Up! Weekly Deals are here! Click this link or the photo below!


Stampin' Up! Weekly Deal Dec 9 2014


Stampin' Up! Clearance Rack Year End CloseoutsDon’t forget to take advantage of the Stampin’ Up! Year-End Closeouts! You can add any and all of these items in this post to your order. Ask a friend if they would like to order anything, such as ribbon or scissors, and maybe you can reach the level for Hostess Benefits!

Banner Blast Valentine Card

Banner Blast Valentine Card

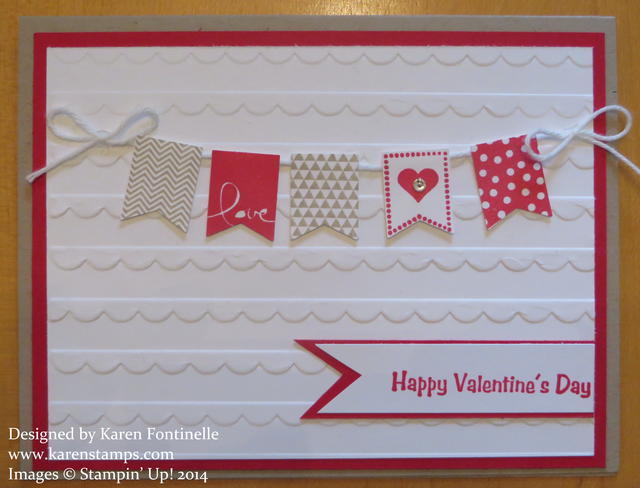
This Banner Blast Valentine card is made with a stamp set and punch you can get FREE during the Stampin’ Up! Sale-A-Bration Promotion!  And even though it has a heart and the word “love” on it doesn’t mean it is only for Valentine’s Day. You could make a little banner like this on a card for many occasions – birthday, anniversary, think of you, wedding, and more. Banners are really popular right now so why not use them on your cards and scrapbook pages?! This card also uses the Scallops Textured Impressions Embossing Folder in the Occasions Catalog for the background. You could change the greeting to any sentiment you wanted. The banner pieces are all stamped with the Banner Blast Stamp Set and then punched out with the Banner Punch, both available in the Sale-A-Bration Brochure. They are then just adhered to the card in line with the Baker’s Twine with Stampin’ Dimensionals.  You could also just use the Banner Punch to punch out any designer paper rather than stamping. So versatile and so easy!

Sale-A-Bration is the biggest promotion during the Stampin’ Up! year so don’t miss it! With every $50 purchase you get to choose a FREE product from the Sale-A-Bration brochure! You can purchase any current Stampin’ Up! products to qualify. The Bundles shown in the Sale-A-Bration Brochure are there as suggestions if people need ideas for $50 worth of product, but you are not limited to those choices. Sale-A-Bration runs until March 31.

Are you ready to have a Banner Blast in your card-making and scrapbooking? Use Sale-A-Bration to get a free stamp set and/or Banner Punch! Purchase anything you need from Stampin’ Up! in my Online Store HERE.

Triple Heart Easel Valentine Card

Triple Heart Easel Valentine Card

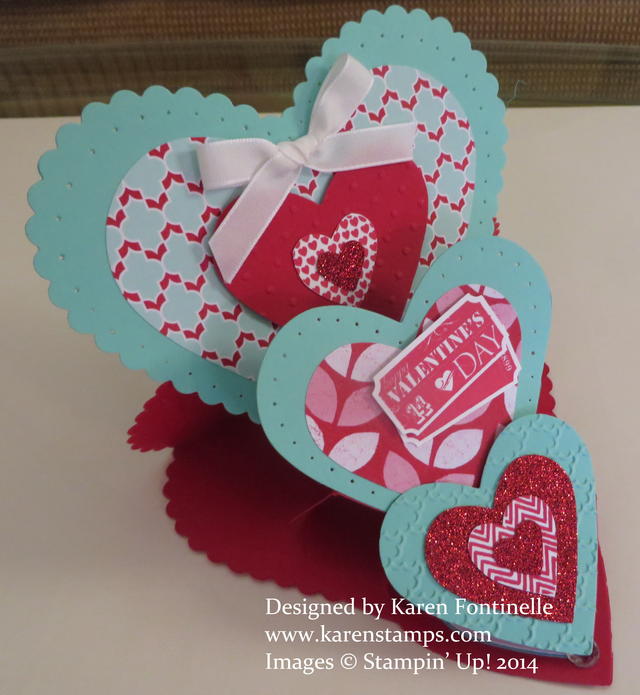
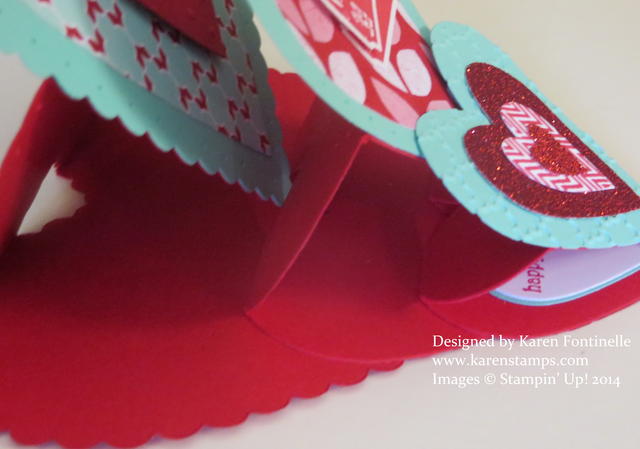
One of the cards I worked on this week is this Triple Hearts Easel Valentine Card. It’s not that hard to make but looks quite fancy and elegant! It’s best to work with the Hearts Collection Framelits Dies to cut out the hearts.  For the base of the card,cut out three sizes of hearts. The card stock should be folded in half and then the fold placed just inside the top of the framelit so the fold will remain when the rest of the heart is cut out by the die. The bottom of the folded heart will be the base and the top heart will be folded about in half. It remains open and the folded down part will hold another single heart. Adhere the three base hearts together spacing them the correct distance apart to fit in an envelope or just to be able to stand up the way you want them.

Triple Heart Easel Valentine Card base hearts

Once you have the base assembled, cut out the same size hearts ago, but just singles. Decorate the hearts how you like and adhere to the base hearts.  The whole thing can be folded down flat for mailing.

Hope you had a nice Valentine’s Day making, sending, and/or receiving valentines!

If you need some Hearts Framelits for your projects, please visit my Stampin’ Up! Online Store!
 

A Husband Valentine

Husband Valentine

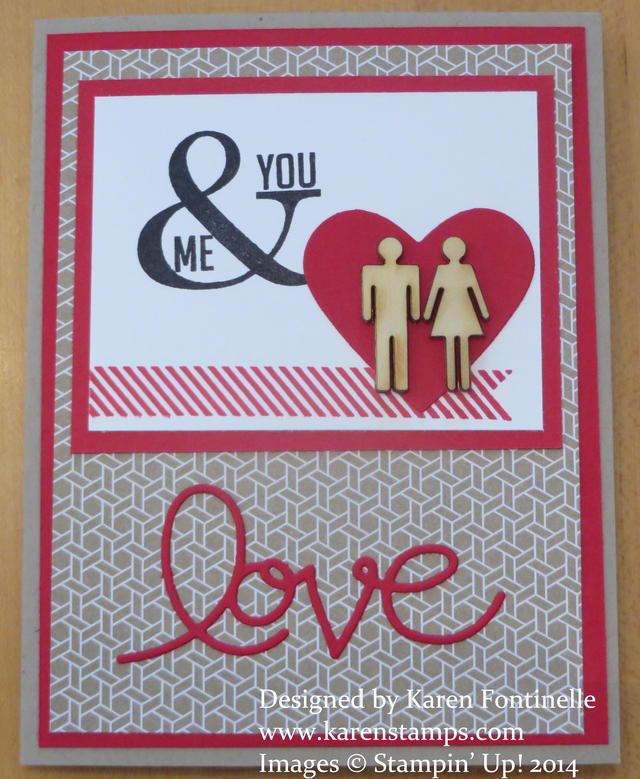
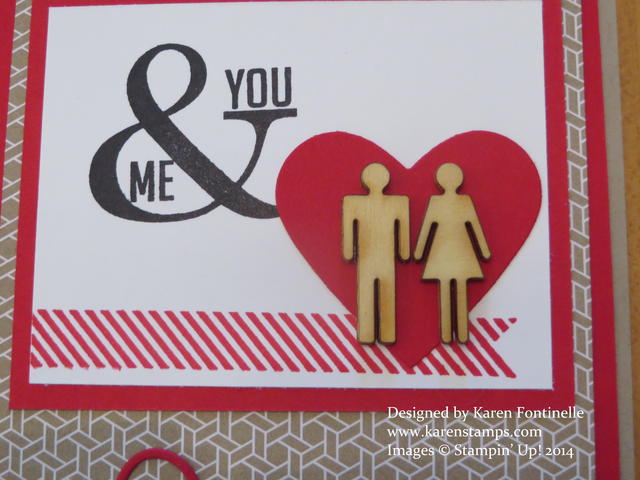
Here’s the valentine I just made for my husband!  I guess you can say I work best under pressure! At the last minute! I got the idea to use the little wooden people that came in a Paper Pumpkin Kit.  What a cute little 3D embellishment especially for a man’s card!  The ampersand and sideways banner is from Perfect Pennants. The Real Red heart is die-cut with one of the Hearts Framelits. That background paper is from the Fresh Prints Designer Series Paper Stack.  The “love” die-cut is from the Expressions Thinlits that were in the Holiday Catalog and sadly NOT carried over!  What WERE they thinking??!  I’ll keep my fingers crossed that they reappear in the next Annual Catalog!
I hope you are having a great Valentine’s Day!  The bouquet of flowers has arrived, right? And your husband will be bringing home the box of chocolates and diamond necklace later, right? Well, if not, then you get a free evening of stamping!  Treat yourself!! One year I bought myself that purple bottle of Elizabeth Taylor perfume, whatever it was called, and had it gift-wrapped at the cosmetic counter…for myself for Valentine’s Day! Why not?!

Hope this card will inspire you if you need an idea for a husband Valentine!

Husband Valentine Close-up

Happy Valentine’s Day! Grab Some Ideas for Valentines!

Here are some Valentine ideas from the past! Perhaps if you don’t have the newest Stampin’ Up! products, you will find something here that you already have and can use today if you are a last-minute Valentine stamper and creator!

Last Minute Valentine’s Day Candy Treat Ideas

(click the link above to go to post)

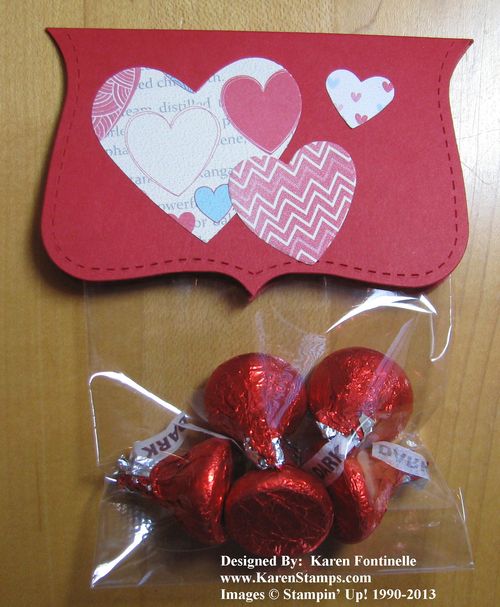
Valentine Top Note Candy Treat Bag

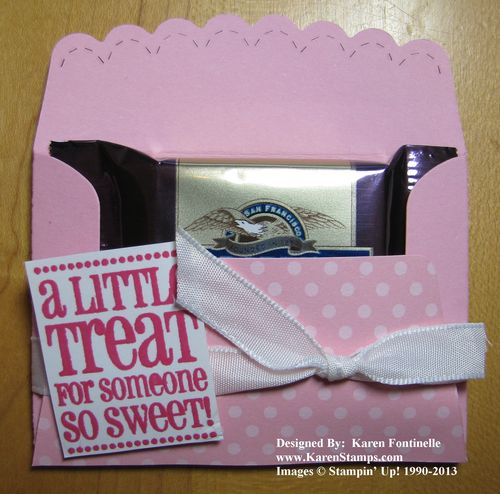
Valentine Scallop Envelope Candy Treat 

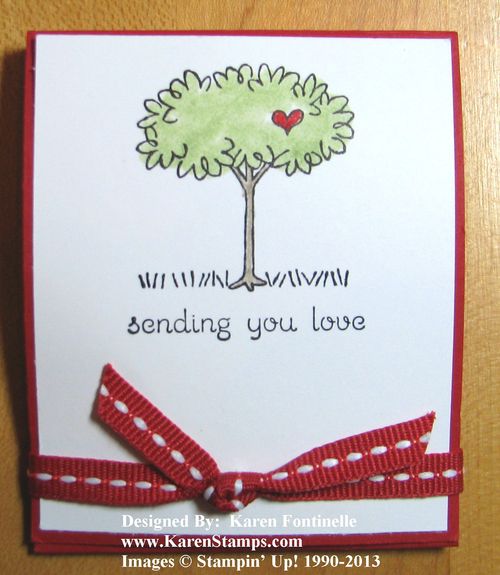
Valentine Candy Treat  Matchbook

 You Are Loved Valentine for Valentine’s Day

You Are Loved Valentine for Valentine's Day 

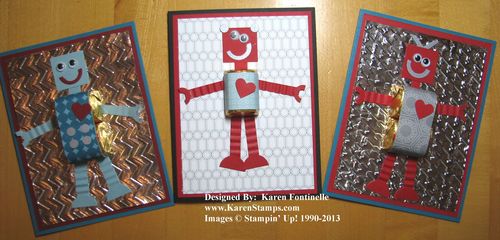
Robot Valentines for Kids 

Robot Valentines for Kids 

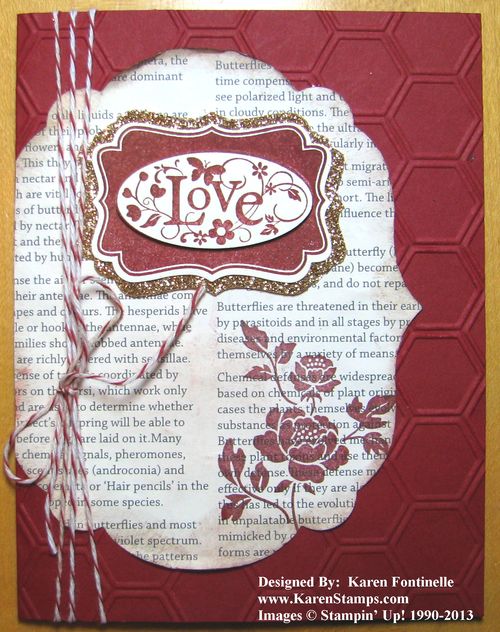
A Love Card

A Love Card for Valentine's Day 

Valentine Fancy Favor Box

Valentine Fancy Favor Box 

And for more Valentine ideas just click HERE.

Have a Happy Valentine’s Day!


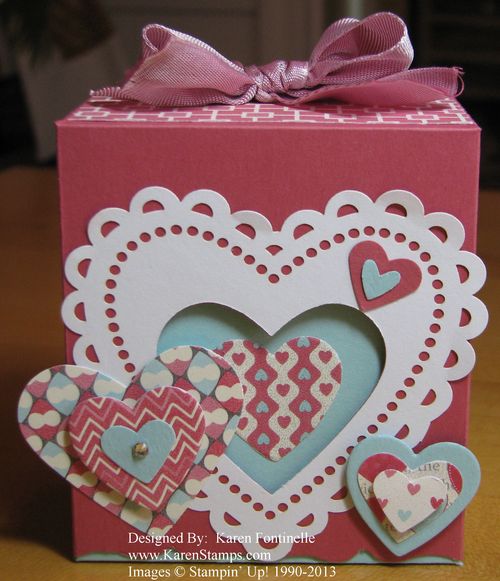
Make a Valentine Treat Box with Hearts

Valentine Box with Hearts

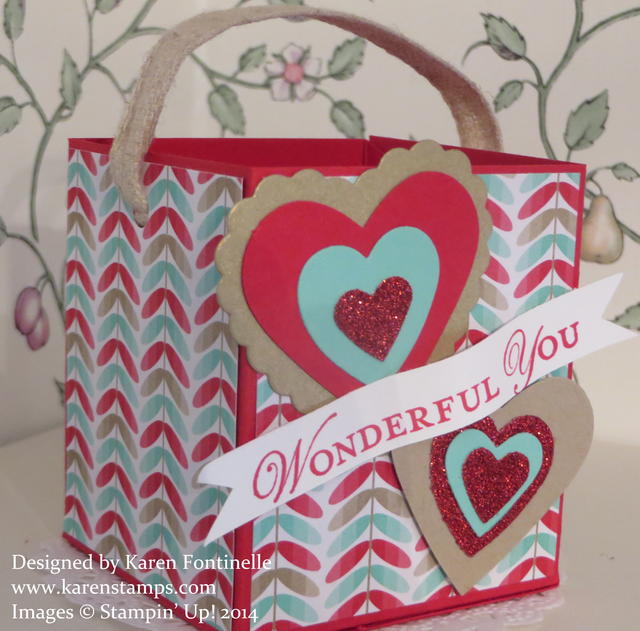
If you need to make a little Valentine gift box or Valentine treat box, here is an easy one to do You can vary the size if you want according to the size of paper you have. You just have to do a little math! If you want this box a little wider you would need to start with 12×12 paper. You could use designer paper if you don’t mind it a little less sturdy.

I cut my Real Red card stock 11 x 4 3/4. It is scored at 2 5/8″, 5 1/4″, 7 7/8″, and 10 1/2″. Turn the paper then and score at 1 3/4″. On the short side, cut the flaps up to the score line and trim off the 1/2″ tab on the end. See photo below. 

Fold on all the score lines and use your Bone Folder to get good creases. Figure out how you will fold the bottom flaps and where you will put the adhesive.  You can use Sticky Strip or the Tombow Multi-Purpose AdhesiveI put my Sticky Strip on the first bottom flap (side opposite the narrow tab) and the third one.

And to decorate the box, I used layers of the Fresh Prints Designer Series Paper Stack, 2 7/8″ x 2 1/2″. Can you see what I did wrong with mine?!  I glued them on upside down!  Sheesh!  But I bet if I gave this box to someone, they wouldn’t even notice!  So I just left it as is rather than risk tearing the paper to get it off! To decorate the front I just used various punched and die cut hearts and a banner I had already stamped but didn’t use the other day, with the greeting from Loving Thoughts. The ribbon handle is the 7/16″ Natural Trim Ribbon in the Annual Catalog.

Like this Valentine Treat Box? If you need any of these supplies for future projects (remember hearts aren’t just for Valentine’s Day!) feel free to visit my Stampin’ Up! Online Store for all the current Stampin’ Up! products. And when you spend $50 or more, you get to choose a FREE Sale-A-Bration product until March 31.

Make a Valentine Treat Bag with Scraps

Valentine Treat Bag with Hearts Tag

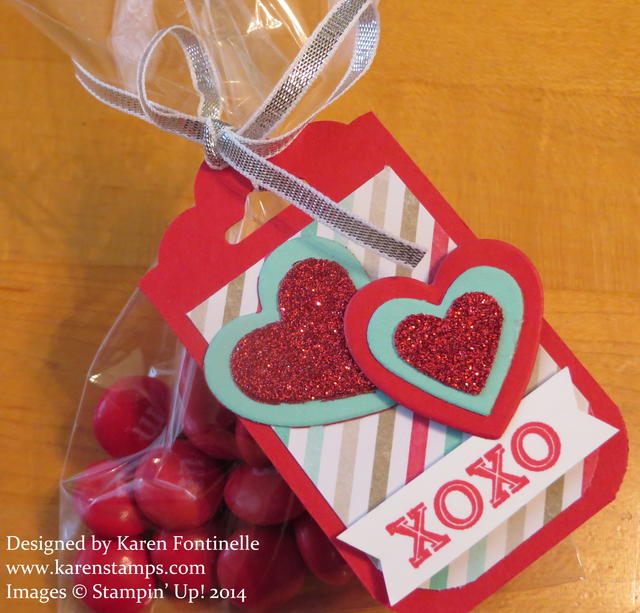
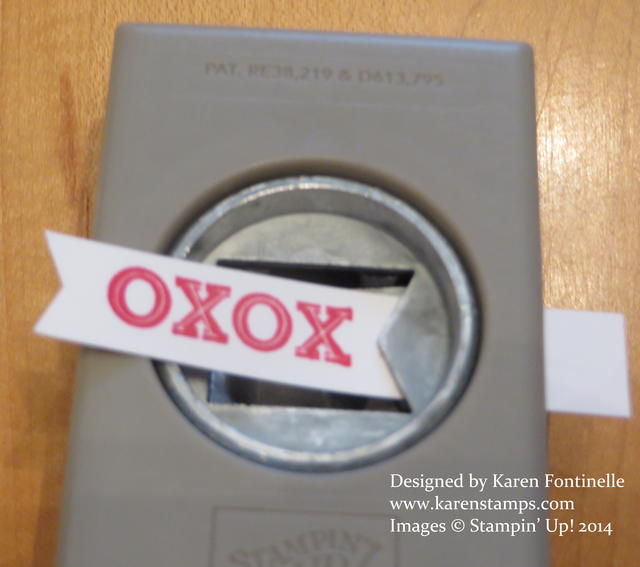
You might be getting ready to make Valentine Treat Bags of some sort for Valentine’s Day perhaps for your child’s classroom or their teachers or your friends, neighbors, co-workers or maybe your family! Maybe this tag will inspire you. Put the treat in a Cello Bag and make a tag from your scraps! You know you’ve got ’em!  I punched the tag with the new Scalloped Tag Topper Punch and then used scraps to decorate it. Now the tag is pretty narrow, only 2″ wide, as is, but for my small bag I wanted it even smaller.  You can trim your strip of paper narrower than 2″ and just be sure to center it when you put it in the punch so it will be even on both sides.  But since I had already punched it at 2″, I just trimmed off both sides, trying to make the top scalloped edge look symmetrical.  And it doesn’t have to be perfect! Then I rounded off the bottom edges of the tag to match the scallops at the top. It really gives the tag a nicer look.  The layer on top of the Real Red tag is from the Fresh Prints Designer Series Paper Stack. The “XOXO” is from the Oh, Goodie! Stamp Set, a carryover from the Holiday 2013 Catalog. That means you can still order it! And then I grabbed some die-cut hearts from the Hearts Collection Framelits Dies and the Hearts A Flutter Framelits and even the Small Heart Punch. Use whatever you have! Or even just cut some hearts by hand! They can be whimsical odd-shaped hearts! Tie on your tag with a piece of 1/8″ Silver Ribbon.

Here’s a tip for cutting a narrow banner. If the strip is narrow enough, stick the end in the new Banner Punch, free with a $50 purchase during Sale-A-Bration! You only want it to cut the one end, that”s why you don’t slide the strip in the regular way. This will punch just the end and that will make you little “flags” at the ends.

Using the Banner Punch To Make Flag Ends

Have fun making your Valentine Treat Bags and don’t forget to check your pile of scraps!