Category Archives: Valentine

Be Mine Valentine Hearts Card

Be Mine Valentine Hearts Card

Here’s a simple but elegant Be Mine Valentine Hearts Card made with three die-cut fancy hearts and a few little hearts plus a greeting.  The colored hearts are made from the  Grapefruit Grove & Lovely Lipstick Foil Sheets.  I am telling you, when you open this package of foil sheets you will just die over how pretty the colors are!!! The colored hearts on this card are made with the Lovely Lipstick Foil Sheet. It is so beautiful in person. And guess how much they cost?!  They are FREE, with a $50 purchase during Sale-A-Bration!  And we all know it’s plenty easy to spend $50 at Stampin’ Up!

To make the hearts, I used the fancy heart die in the Be Mine Stitched Framelits DiesI probably bought the set because of this fancy heart!  There are lots of hearts and they have the “stitching” on them.  You might miss that in the name of the dies!  They are “Stitched Framelits Dies” and that makes them fancier and prettier!  We can always use hearts in our cards and projects so don’t miss this set!  For a Bundle, go ahead and get the stamp set also,  Meant to Be, so you can save 10% on both!

I used the Multipurpose Adhesive Sheets on the back of the foil so I wouldn’t have to use glue to adhere the hearts to the card. Normally this is a great thing to do with intricate designs that are hard to adhere with glue because there are no large enough areas to apply the glue to. But when I made this card, I had a mess with all the teeny tiny pieces in the die cut edges of the hearts all sticking to my fingers!  I think it was “operator error” somehow. Usually people really like the Adhesive Sheets!  I seldom remember to use them and when I did remember to use them, I couldn’t find them, so there you go!  Maybe I am better off just using glue!

The card itself and the two white hearts are made with the beautiful Shimmery White Cardstock.  This paper is one of my enduring favorites!  It has such a subtle shimmer to it yet it looks much more elegant than just Whisper White.  It is also good for watercoloring if you don’t have the official watercolor paper from Stampin’ Up!.

The little hearts are die cut from the Lovely Lipstick Foil using the die that cuts out a whole grouping of hearts.  I just wanted a few to use somehow on this card.  I placed two inside the white hearts and scattered the others randomly on the card.

I needed a small greeting for this card and I found one in the Itty Bitty Greetings Stamp Set.  This is a great set to own because we can never have enough words!

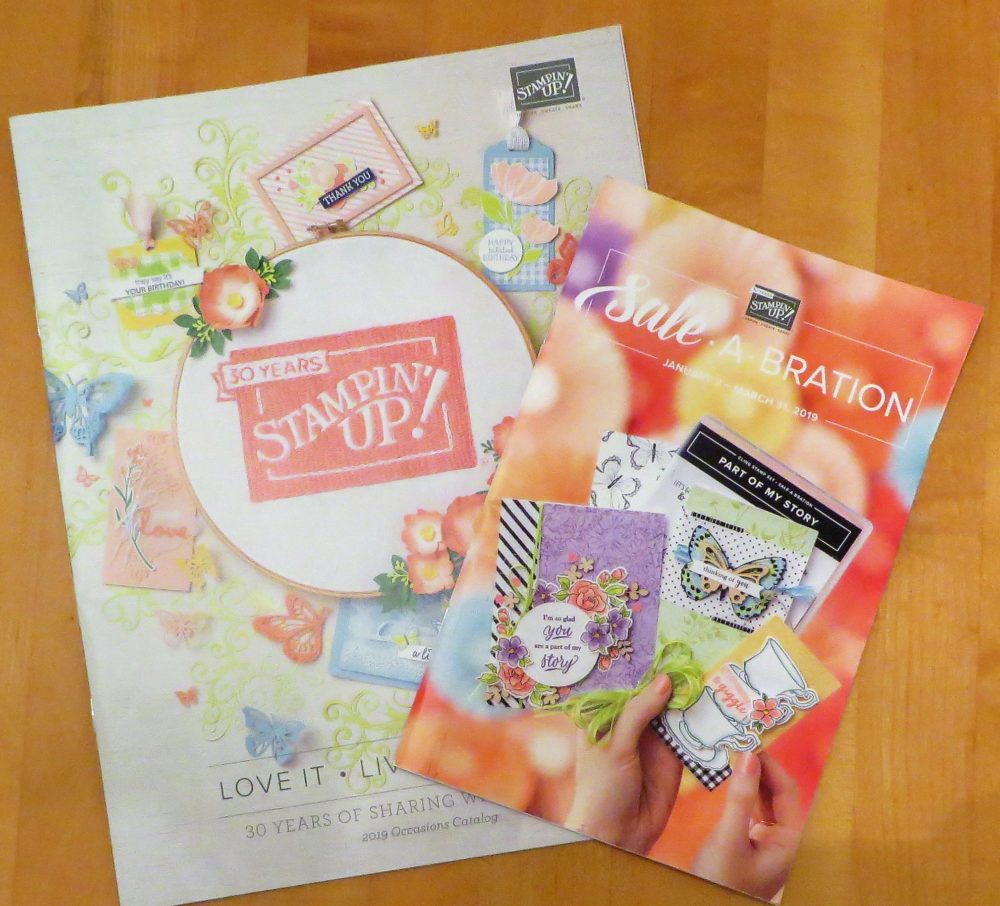
Occasions 2019 and Sale-A-Bration 2019 Catalogs

Check out the great Occasions Catalog and see what you can get for FREE during Sale-A-Bration in the special Sale-A-Bration Brochure!  With every $50 purchase, you earn a free SAB item.  With a $100 purchase, you can choose two items for the two $50 purchases or you can choose one of the special $100 items! At $150 you also earn Stampin’ Rewards plus Sale-A-Bration.  At $250, you earn those PLUS an extra $25 in Stampin’ Rewards! All the information is HERE!

If you are interested in Stampin’ Up! products and would like these catalogs, just send me your contact information and I can mail them out to you.  While you can view them online, nothing beats having a Stampin’ Up! catalog in your hands!

If you need any supplies to make this Be Mine Valentine Hearts Card, you can contact me to put in your order or just go to the Stampin’ Up! Online Store HERE!


Be Mine Die Cut Hearts Valentine Card

Be Mine Die Cut Hearts Valentine Card

The other day I just die cut some pieces with the Be Mine Stitched Framelits Dies and then I played with them to see if I could make a card with them!  I could!  As it happened, I love the look of the die cut hearts, tone on tone, at the bottom of the card.  After I placed the large and small die cut hearts on the upper part of the card and put on the greeting, I decided to add some of the tiny hearts from that bottom piece inside the heart outlines. I think it all came out like a pretty good Valentine!

I used a piece of the Thick Whisper White Cardstock for the card base with a layer of the Lovely Lipstick Cardstock.  The Be Mine Stitched Framelits Dies are very interesting and pretty with the way they make a stitched look on the hearts and with one of the hearts just having a fancy outline to it.

Remember, hearts aren’t just for Valentine’s Day!  I have often wished Stampin’ Up! would quit taking away out heart punches and dies because I like to use them for weddings, graduations, congratulations cards, and other occasions. Hearts can make any kind of pretty card!  Don’t think this Meant To Be Stamp Set and Be Mine Stitched Framelits Dies are only for Valentine’s.  In fact, you can buy both in a Bundle and save 10%!  Every little bit helps!

If you purchase the Meant to Be Bundle, you will earn a FREE Sale-A-Bration product!  Be sure to think in terms of $50 increments when placing your order to get the full benefit of Sale-A-Bration!  Check out the products you can earn during Sale-A-Bration HERE in the Brochure.

SHOP STAMPIN’ UP! ONLINE HERE!


Forever Lovely All-Occasion Card

Forever Lovely All-Occasion Card

This Forever Lovely All-Occasion Card is stamped with the Forever Lovely Stamp Set in the Occasions Catalog and inspired by the All My Love Designer Series Paper.  This designer series paper is beautiful. While it has come out sort of during “Valentine season” and it does have hearts, but a lot of the paper can be used for any season and all occasions.

For this card I started with the Lovely Lipstick Cardstock, one of the 2018-2020 In Colors.  It is one of the coordinating colors of the All My Love DSP. I added a layer of Whisper White and stamped three flowers from the Forever Lovely Stamp Set.  There is one stamp that is a grouping of flowers, but I used the individual flower stamps and then added individual leaves. I also stamped the little stems of open leaves which I decided to look at as little blue flowers, sort of like the tiny blue flowers on the DSP and colored them with the Balmy Blue Stampin’ Blends Markers  (new colors in the Occasions Catalog).  And for fun,  stamped the tiniest hearts in the stamp set in between the flowers!

I added a strip of the All My Love DSP to the bottom of the card.  The greeting comes from the same stamp set and is die-cut with the Layering Circles Framelits Dies.  The ribbon is in the same suite.  It is part of the  All My Love Ribbon Combo Pack, including Flirty Flamingo 1/8″ Ribbon and this Lovely Lipstick 1/2″ Ribbon with a white-stitched edge.

Not being able to stop with a little more embellishing, I used the Clear Wink of Stella Glitter Brush on the flowers plus added a tiny die-cut heart on the greeting and brushed on some Wink of Stella to give it a little glimmer.

As this card turned out, I would call it a “Happy card” and I hope someone who received it would feel that it brightened their day.

I might add that this stamp set has the term “Distinktive” attached to it. You might notice the “textured” look to the stamped image.  This is the intended look of this type of stamp.  It gives added depth and dimension to the stamped image in one step.

Check out the All My Love Suite of products, perhaps for your Valentine cards and projects, but keeping in mind that you will be able to use these products way beyond Valentine’s Day.

SHOP STAMPIN’ UP! ONLINE!

Decorated Valentine Tin

Decorated Valentine Tin

Remember when we used to find a lot of crafty things to use at the Dollar Spot at Target?  I haven’t in a while but the other day I found this pretty tin that looked like it could be decorated for Valentine’s Day!  It already has a lot of cut out hearts on the tin so I added a big heart and new ribbon.

To decorate this tin, I cut out several different hearts with the Be Mine Stitched Framelits Dies on page 6 of the Occasions Catalog.  I played around first with the grouping of little bitty hearts, but I wasn’t pleased with that for the tin. If you ever need a bunch of tiny little individual hearts cut out, run that die through the Big Shot and you’ll have lots of little hearts even if you don’t use the grouping!

Next, I cut out one of the large printed hearts from the All My Love Designer Paper. It is one sheet with large hearts and small hearts. You could use this sheet as is or you can cut out all or some of the hearts. I also used the very frilly heart die to cut out a heart to overlay the printed heart.  I liked that on the tin!

In the All My Love Suite in the Occasions Catalog is a package of two ribbons, the All My Love Ribbon Combo Pack.  One spool is Lovely Lipstick 1/2″ Ribbon with a white stitched edge and the other spool is Flirty Flamingo 1/8″ wide ribbon. I used both ribbons to wrap around the tin with the ends meeting in the front.  Then I adhered the heart I’d made over the ribbon ends using Stampin’ Dimensionals on the back.

Decorated Valentine Tin Closeup

A pretty easy way to decorate this Valentine tin a little more!  Since it was already pretty “busy” I didn’t want to add much more.  I could have stamped and adhered a greeting across the front, but I liked it the way it was.  Then just put some candy inside, a candle, notecards or whatever you like.  You could even use it to hold stamping supplies on your craft desk because the hearts aren’t only for Valentine’s Day!

You don’t have to find this exact tin, but you might find something similar, maybe already in your house, like a votive holder and this is one easy way you can decorate it!

Check out the Occasions Catalog All My Love Suite of products!


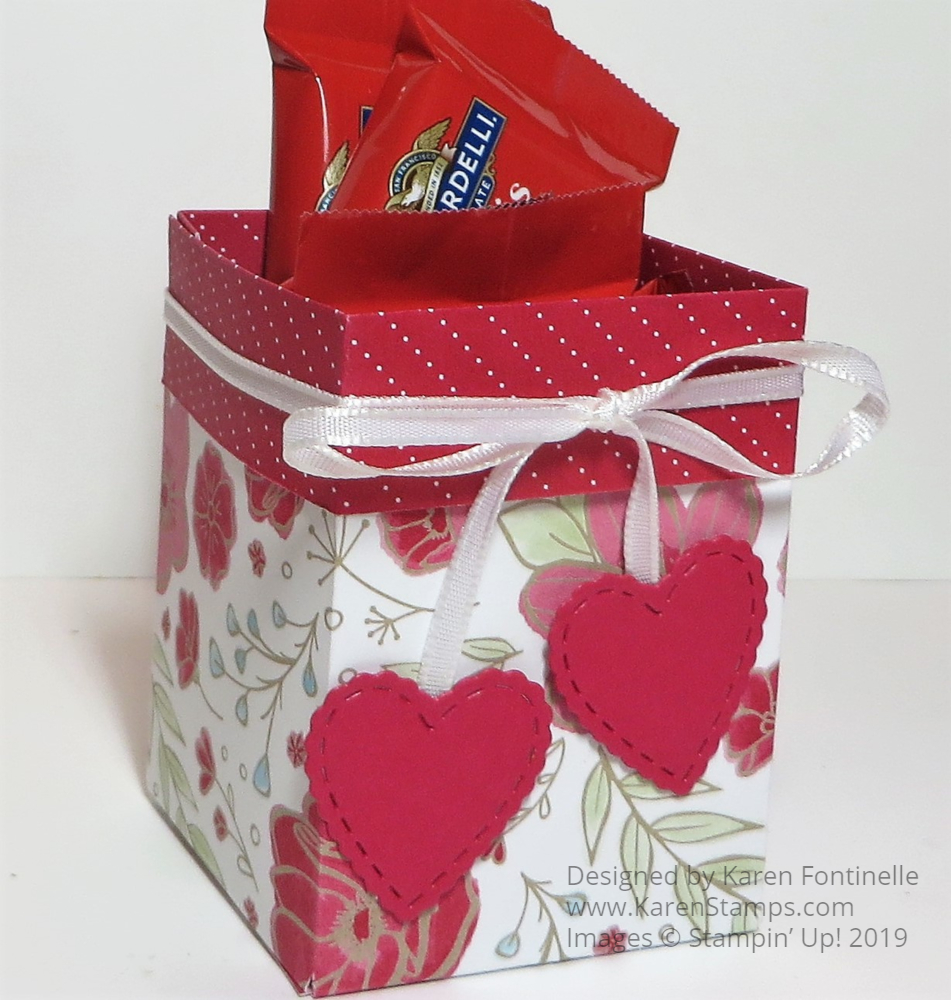
All My Love Party Favor Treat Box For Valentine’s Day

All My Love Party Favor Treat Box For Valentine's Day

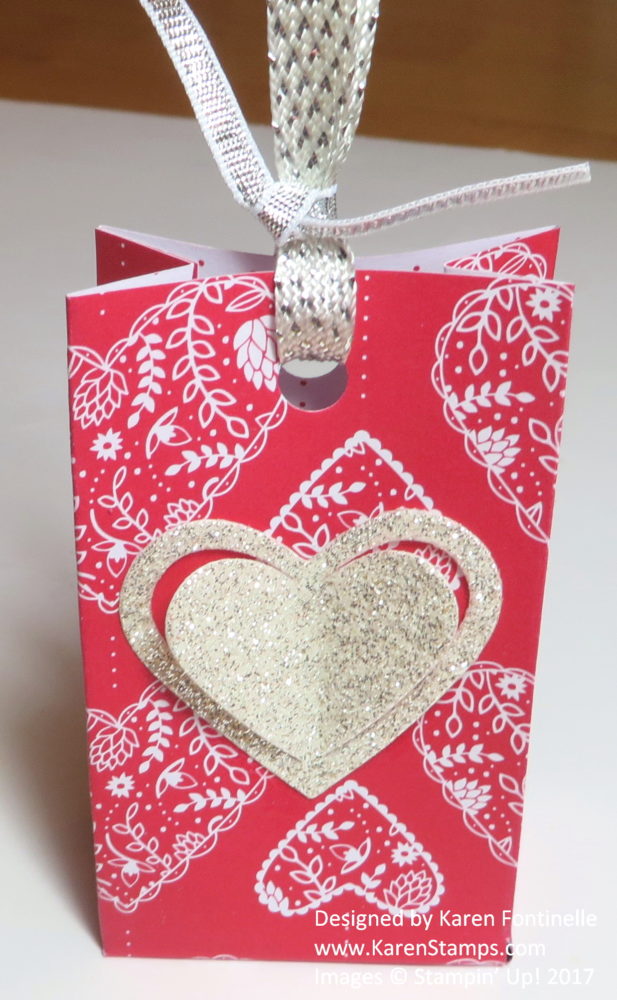
One of the new pretty designer papers in the Occasions Catalog is this All My Love Designer Series Paper which I have used to make this All My Love Party Favor Treat Box For Valentine’s Day.  This paper has hearts and florals so it covers almost any occasion!  Remember, hearts are just for Valentine’s Day! The Occasions Catalog has a whole suite of products to go with this paper.

To make this little box or bag, for a treat to give someone or maybe as a party favor (think bridal showers, maybe?), just make the classic 2-4-6-8 box!

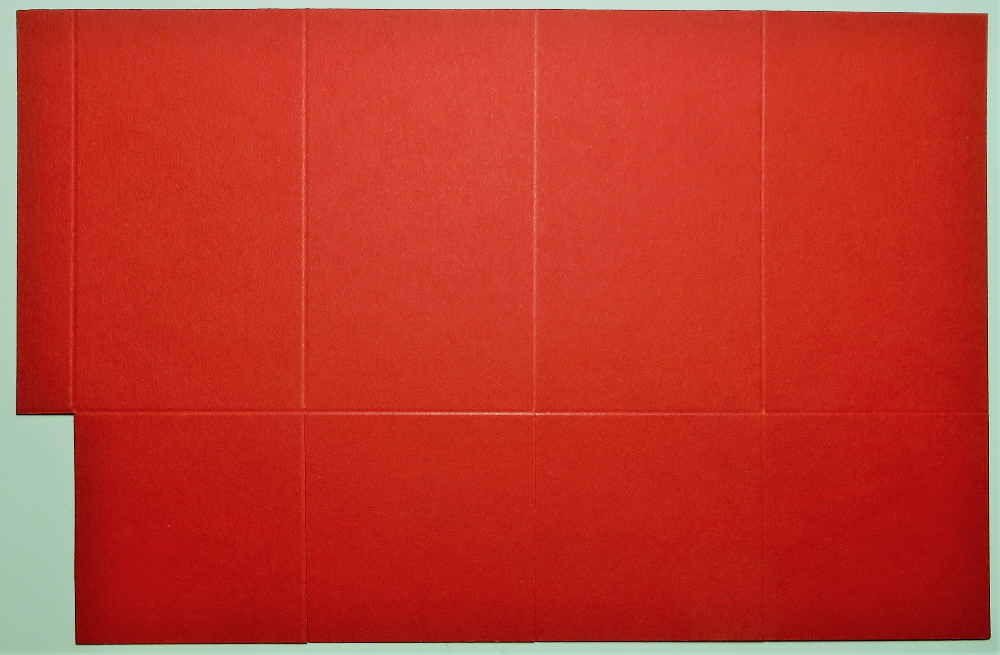
This paper is cut at 5 1/2″ x 8 1/2″, even though the designer paper is 12″ x 12″.  Don’t you hate to cut into new designer paper?!  Then just score at 2″, 4″, 6″, and 8″.  Turn the paper to make the bottom flaps of the box at 2″. Cut up on those score lines to the horizontal score line to make the bottom flaps, cutting out the tiny little piece at the end.  Your paper will look something like this.

2-4-6-8 Box Scored Lined

On my treat box today, I also scored a line about 3/4″ down from the top so that I could fold over the top and see the other side of the paper.  Or you can just fold it on your own before you start assembling the box.

Crease and fold all the score lines and assemble the box. I just used the Multipurpose Liquid Glue to hold everything together.   You could also use the Tear & Tape Adhesive.

Once the box is assembled, tie a little ribbon around the top and use the new Be Mine Stitched Framelits Dies to cut out the little hearts. This smallest heart is really cute because it comes out with the pretty edge and the little stitching! I used Glue Dots on the back of the hearts to adhere to the ribbon.  If you have trouble with the hearts hanging where you want them, another Glue Dot on the back won’t hurt to place them properly! If you wanted, you could use a  white gel pen to write a name or message on the hearts.

Fill with some treats or a little gift and you are done! The All My Love DSP is so pretty and can be used for almost any occasion.  You will think of it for Valentine’s Day but you are not limited to that at all. And the box is pretty on it’s own without the hearts because the paper is so pretty.

Check out the All My Love Suite in the new Occasions Catalog! Remember Sale-A-Bration — with every $50 purchase you earn a free Sale-A-Bration product!

Practice making some 2-4-6-8 boxes so you will know how easy they are to do! Here’s one I made at Christmas at this link. You can also squeeze the sides in a bit and the top together as I did on that Santa’s Workshop box. Try your hand at this All My Love Party Favor Treat Box For Valentine’s Day.

Shop the Occasions Catalog at Stampin’ Up!

The All My Love Suite For Valentine’s Day, Weddings, and Love

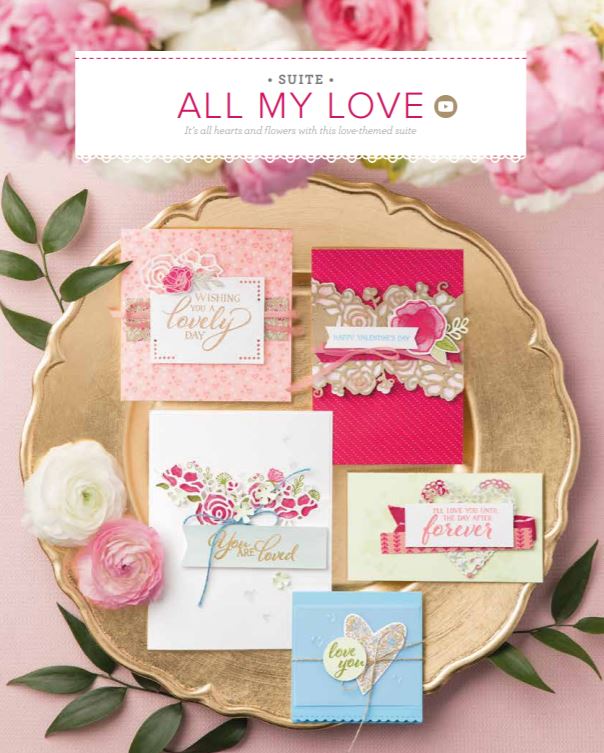
All My Love Suite

Image © Stampin’ Up! 2019

One of the most beautiful suites in the new Occasions Catalog is the All My Love Suite. And I would say one of the most useful suites!  We might immediately think of Valentine’s Day with this suite, but it’s also perfect for weddings, birthdays, anniversaries, engagements……lots of occasions!

This Suite actually includes two different Bundles, the Forever Lovely Bundle with a stamp set and dies that cut out the beautiful floral border, and the Meant To Be Bundle that includes a stamp set with hearts and dies that cut out those heart shapes.  Of course, there is also a lovely designer paper, All My Love Designer Series Paper and extra embellishments like the Heart Epoxy Droplets and the All My Love Ribbon Combo Pack.

Enjoy these two Stampin’ Up! videos about these products and then put them on your order right away so you can use them for Valentines and birthdays if you like.

Shop the Occasions Catalog and more in the

Stampin’ Up! Online Store!

2019 Occasions Catalog Video by Stampin’ Up!

I just love this new Stampin’ Up! video showcasing some of the new Occasions Catalog products!

The Occasions Catalog went live yesterday!  It’s always fun when there are new Stampin’ Up! stamping and papercrafting products to look at and order!  Think of all the great new cards and projects that will be created around the world with these few products……new stamps, new papers, new embellishments!  Something for everyone.

View the new Occasions Catalog HERE!

Shop the Occasions Catalog HERE in the Online Store!

Enjoy the Stampin’ Up! Occasions Catalog video

and enjoy shopping!


Join Paper Pumpkin January 2019 and Go Wild With the Animal Expedition Suite

Paper Pumpkin Jan 2019 Wild Animal Expedition Kit

It’s time to start the New Year off right with a subscription to Paper Pumpkin, the papercrafting kit from Stampin’ Up! that comes to you in the mail!  Just think….. a little gift for you every month in your mailbox!  Each month is a new project, often cards, but sometimes something different!

I can tell you that this January Paper Pumpkin Kit is going to coordinate with the very cute Animal Expedition Suite in the Stampin’ Up! Annual Catalog on p. 26-27!  If you already own any of these products from the suite, you can enjoy even more possibilities of creative projects with your kit. Or if you like you can purchase some products from the suite. No other products are necessary to use the kit, however.

Having a Paper Pumpkin Kit come to you in the mail gives you a simple way to add some creative time in your life.  No designing your own project, pulling out supplies or finding you don’t own something you need.  Just open the box and “Skip to the fun” as the kit says!  Watch a video and read the directions.  Make the project exactly, or strike out on your own if you want to.  After awhile, you will see alternative ideas for using the kit online posted after subscribers have time to play!

Also, once you are a subscriber, you can order any Past Kits or Refills that are available in the Stampin’ Up! Online Store.

Most kits are a surprise, but if you would like some hints this time, the January 2019 Kit:

  • Makes 24 adorable Valentine’s treat packages
  • Coordinating colors: Crumb Cake, Flirty Flamingo, Lemon Lime Twist, Melon Mambo, Petal Pink, and Pool Party

SUBSCRIBE NOW or at least by January 10th to get this kit! It’s always possible the kit can sell out, so I would suggest subscribing at your earliest convenience!

Make an Easy Last Minute Valentine Card

Make an Easy Last Minute Valentine Card

Happy Valentine’s Day to you!!

I thought I would make an easy Valentine’s card for all of you, even though I can’t mail it out to everyone! AND if you need one more idea at the last minute for an easy card to make, something like this one should inspire an idea for you!

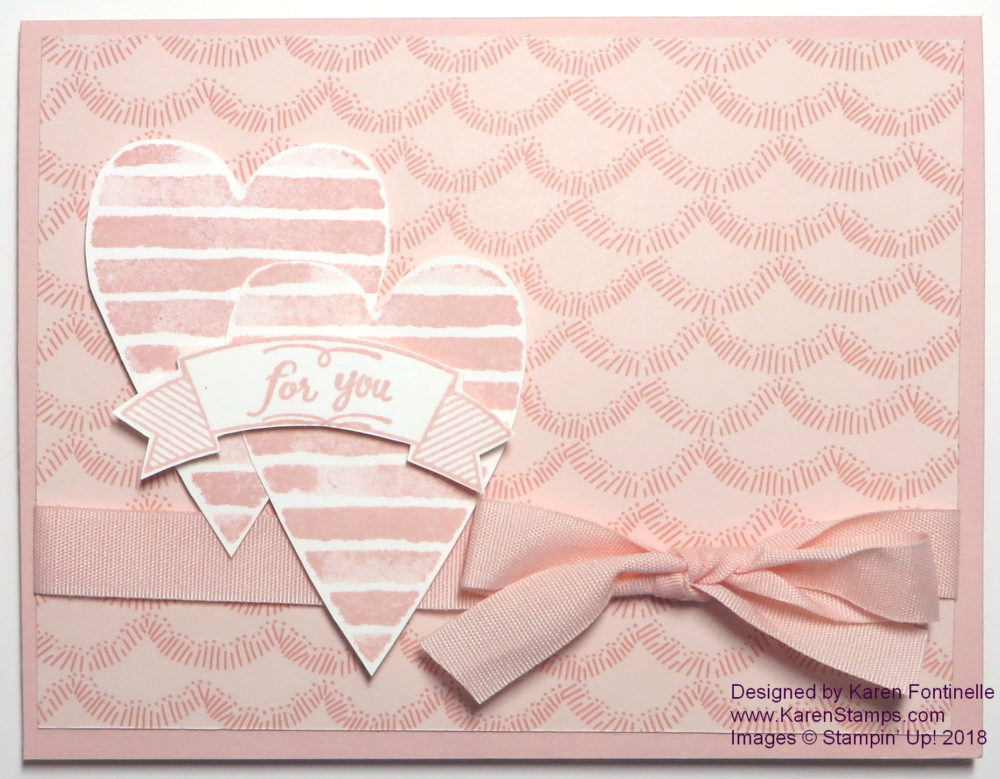
The card base is Powder Pink, one of the In Colors. The designer paper on top is from the Sweet Soiree Designer Series Paper.  It kills me that there is a gorgeous design with foil accents on the opposite side, but this Powder Pink print side is what I needed and wanted for my Valentine today!  It’s a gloomy, foggy, drizzly day outside so I think that put me in the mood for something more subdued.

The hearts are stamped from the Heart Happiness Stamp Set in Powder Pink Ink.  I love this stamp set, and I have to add it will be plenty useful even after Valentine’s Day. I simply cut them out by hand with my Paper Snips.  Before adhering to the base, I wrapped some Powder Pink 1/2″ Finely Woven Ribbon around the designer paper and tied in a bow. Then the hearts are popped up on Stampin’ Dimensionals.

The greeting is stamped on a banner from Thoughtful Banners and the words are from Wood Words.  I chose these words because now the card can be for anything, even just to send to someone to let them know you are thinking of them. For today, the hearts look like Valentines, but any other time, it just looks like a pretty card!  So don’t restrict hearts to just Valentine’s Day!  You can use them almost any time.

You could embellish this card even a little more, but I think it is fine the way it is.  And now that I made a hair appointment for this afternoon at the last minute, I need to make some last minute Valentine treats myself to take!  Keep it simple and you can make anything at the last minute!

Have a wonderful Valentine’s Day!

Last Minute Card and Treat Ideas For Valentine’s Day

Easy Valentines to Make with Sending Love Paper Stack

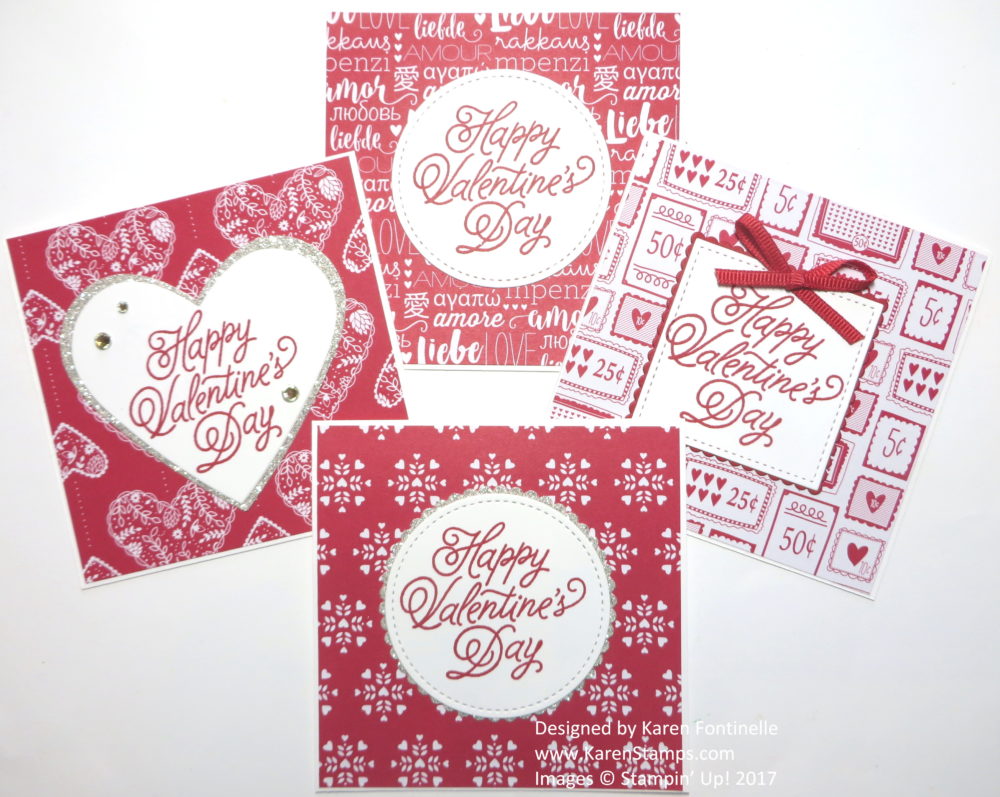
Since we are just one day away from Valentine’s Day and we all probably procrastinate, I thought I would post some of my past projects that you can use for last minute Valentine ideas for cards and treats for inspiration if you need another card or two or a little treat for someone!

Click here for the above cards:  Easy Valentines to Make With Sending Love Paper Stack

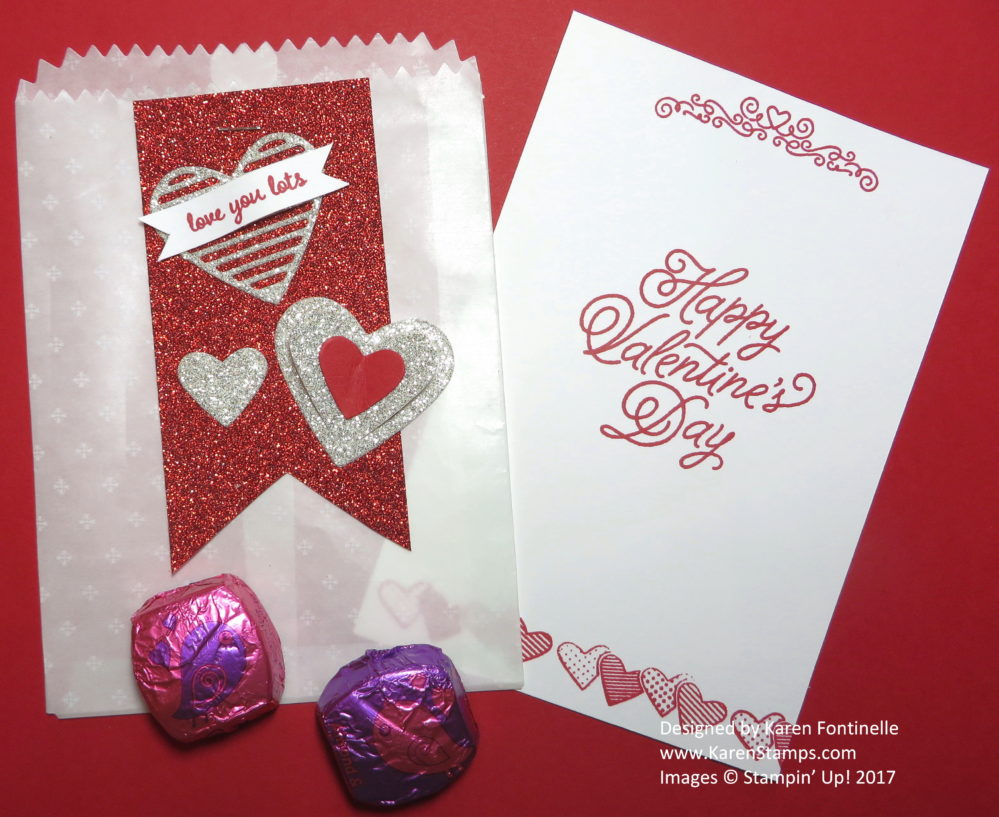
A Valentine Mini Treat Bag For a Valentine Treat

A Valentine Mini Treat Bag With Glassine Sheet

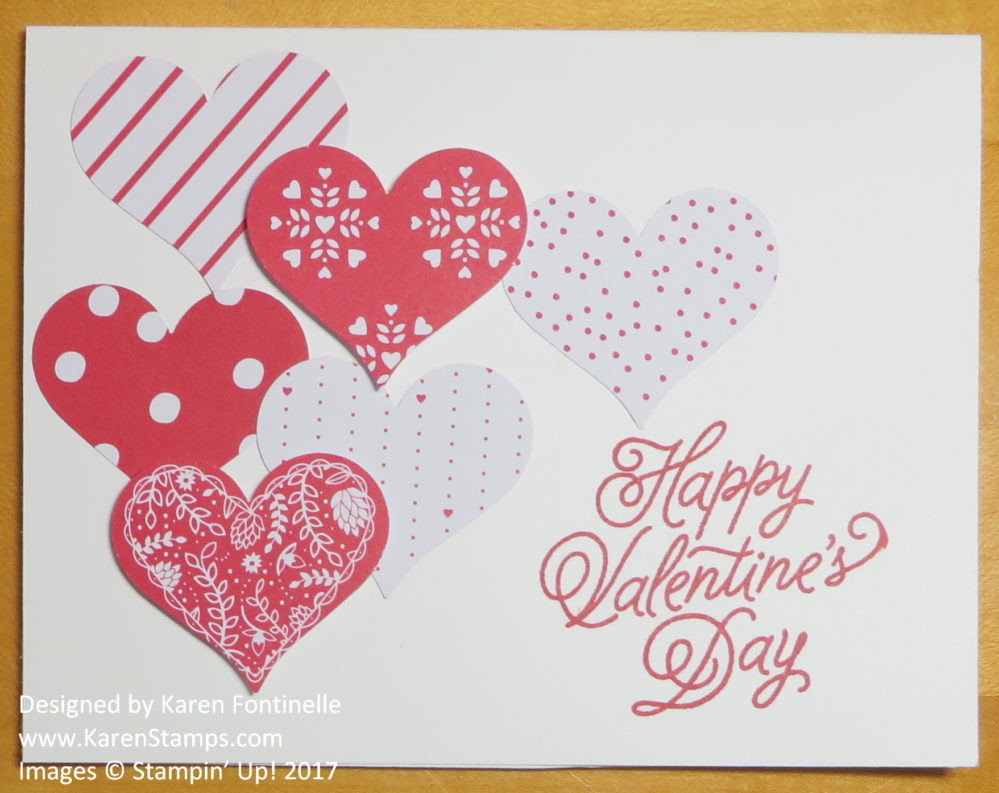
Quick and Easy Last Minute Punched Hearts Valentine Card

Quick and Easy Last Minute Punched Hearts Valentine Card

Easy Stamped Valentine Card

Stamp An Easy Valentine Card with Sealed With Love

Valentine Treat Bag with Hearts Tag

Make a Valentine Treat Bag with Scraps

Valentine Sending Love Small Treat Bag

Valentine Sending Love Small Treat Bag

These are just a FEW of my past Valentine ideas!  You can put “Valentine” in the Search Box on the right sidebar and find even more, some very old ones! Or you can look through the Archives drop down menu and choose a very old year and see what we used to make! So if you need last minute Valentine ideas for cards and treats, just check these out!  Have fun!


Mini Mailbox For Valentine’s Day Candy

Mini Mailbox For Valentine's Day Candy

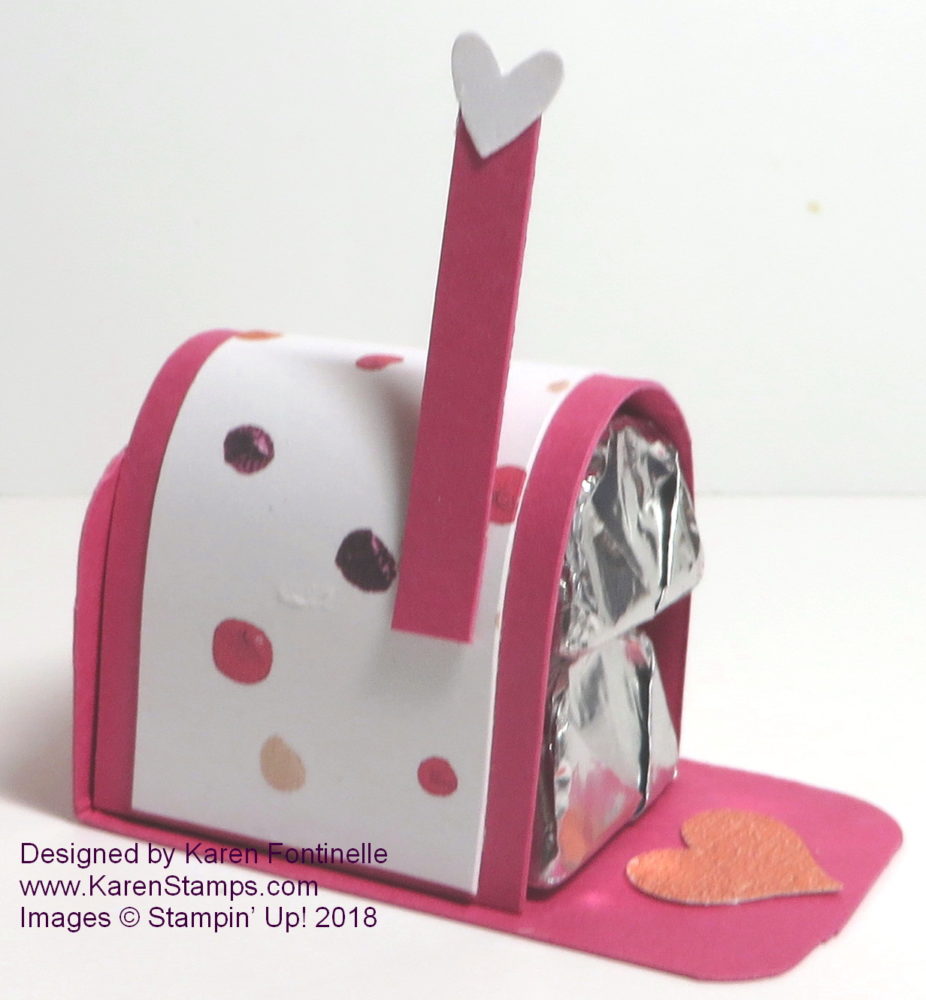
I’ve seen these Mini Mailboxes For Valentine’s Day Candy around on the internet and they are so quick and easy to make! I’m sure you could also make them for other occasions, like a birthday or Christmas.  Just change the paper and colors to suit the occasion!

This mailbox has two chocolate nuggets inside. You could use a low-temp glue gun so as not to melt the chocolate of course, but I just used Mini Glue Dots. They won’t interfere with the candy.

For the mailbox base, you need a strip of cardstock that is 3″ x 1″ with the corners rounded at both ends.  I used a Project Life Corner Rounder Punch (retired) but you could also just round the corners by hand with your scissors. This is just a little candy treat, it doesn’t need to be absolutely perfect! Mine isn’t! I think I used the wrong piece of paper for the base!

Score this base piece at 1″ to form the flap that makes the back of the mailbox.  You don’t need to score the other end unless you want to be able to fold it up like a mailbox door.

Next cut a piece of cardstock 1 1/4″ x 3″ and a piece of designer paper 1″ x 3″ and glue together. This will fold over the stacked chocolate candies. Again, you can use the low-temp glue gun or I used the Mini Glue Dots.  You might want to loosen the paper fibers a bit by kind of curling the paper just a bit with a Bone Folder.  Then just cut a very narrow strip of paper for the mailbox flag, topped with a tiny heart!  I used the Owl Punch (retired)for the small heart and another small heart punch for the lid of the mailbox.  You can also just cut these hearts by hand, too. We’ve all been cutting hearts since we were kids, right?!

Here are some other fun and easy Valentine candy treats to make! Click HERE.

Try this mailbox project!  It really only takes minutes and you can use up your scraps! Make a Mini Mailbox to hold a couple chocolate candies and give to someone on Valentine’s Day!

Quick and Easy Tiny Treat Box For Valentine’s Day

Quick and Easy Tiny Treat Box For Valentine's Day

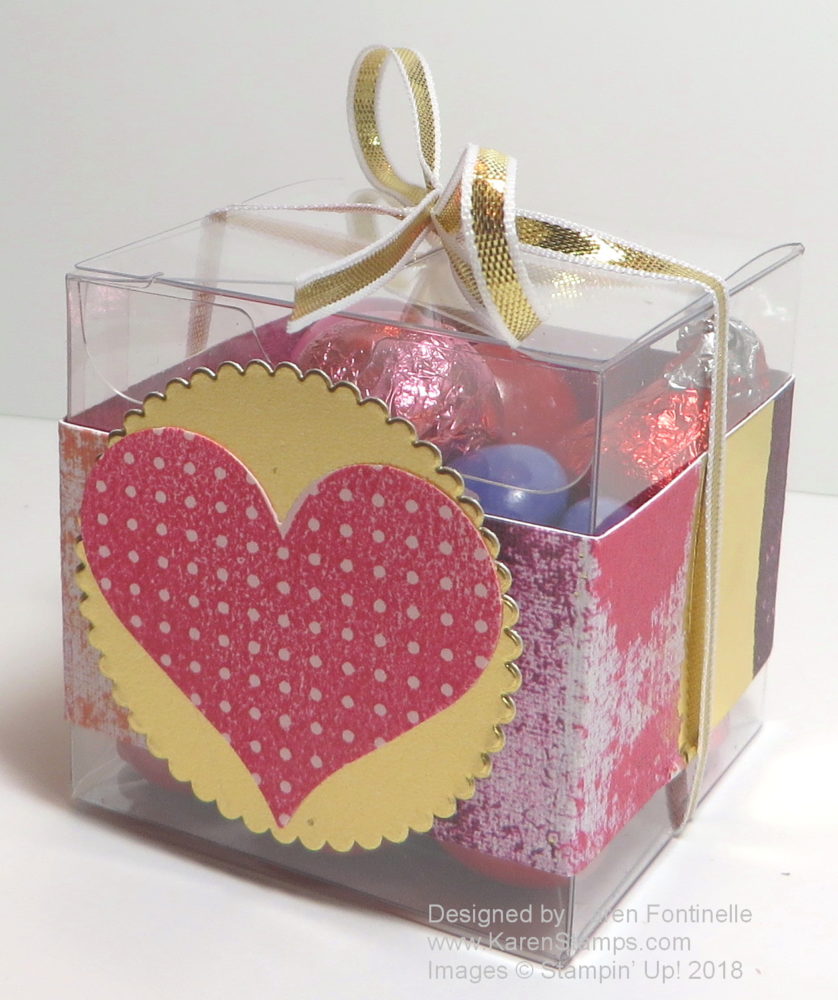
If you keep a package of these Clear Tiny Treat Boxes on hand, you will be able to make things like this Quick and Easy Tiny Treat Box For Valentine’s Day in nothing flat! If you need a little gift box or treat box for an occasion or party favors, these Clear Tiny Treat Boxes are the answer!  Just wrap a little piece of paper or ribbon around the box and embellish for the occasion and you’ve got it!

These Clear Tiny Treat Boxes store flat and have a little plastic wrapping on them. Just crease the score lines when you are ready to use them and assemble the box. Fill with some deli cious candy or place a small gift inside. These would be great as party favors as well.  You can decorate them in any way you like!

For this Valentine treat box, I simply wrapped a narrow scrap of the Painted With Love Specialty Designer Series Paper (This paper has gold foil accents! So pretty!) around the box and adhered the two ends in the back. It’s best, I think, if you hold the strip of paper at the back of the box, then fold the paper around the first corner.  Take the paper off and give it a good crease, then hold it back on the box and fold around the next corner.  Again, remove it, give it a good straight crease, and continue folding around the box.  This way you don’t have to bother measuring. Sometimes when you measure a strip because of the folding, the measurements don’t quite work.

To decorate the box, I simply stamped a heart from Heart Happiness in Melon Mambo Ink on Powder Pink Cardstock and cut out. I adhered the heart on a piece of Gold Foil punched with the Starburst Punch. Just for a little extra I tied a piece of the Gold 1/8″ Ribbon around the box to match the gold in the paper and the Starburst Punch. You could add even more if you wanted to, like a banner greeting across the front of the heart or another smaller heart in the center. Lots of ideas!

As Valentine’s Day is fast approaching, think of how you can make a quick little gift for your family or a neighbor or friend like this Quick and Easy Tiny Treat Box For Valentine’s Day with any little box that you have in your home, and later you can order a supply of the Tiny Treat Boxes to keep on hand!


A Valentine Extravaganza For Kids’ Class Valentines

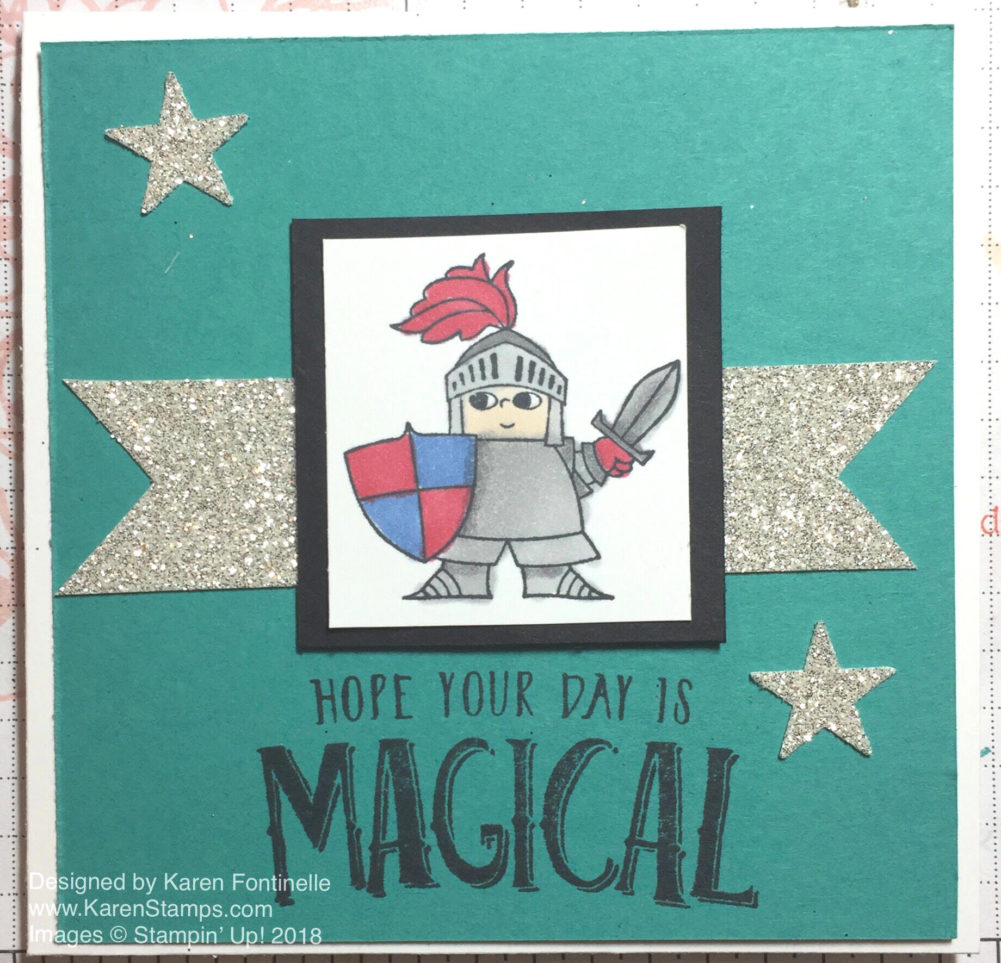
 Magical Day Valentine With Knight

It was a Valentine Extravaganza last night as I helped two moms make class valentines for their kids to take to their school valentine parties this week!  We’ve been doing this for a few years now.  I make some sample ideas, they see which ones their kids like, and then we get together and make them, sometimes with one of the girl’s help because Elsie has been stamping and scrapbooking since she was in preschool!  Really!  She taught a class on stamping in preschool!

The Magical Day Stamp Set in the Occasions Catalog proved to be perfect for Carl as he had just done some Shakespeare in school!  I tried various combinations of designs as you will see.  I used the new Stampin’ Blends markers to color in the knight.  That was a little time-consuming for making 30 valentines, but it had to be done and I knew the moms would want to try out the Stampin’ Blends markers. (They loved them!)

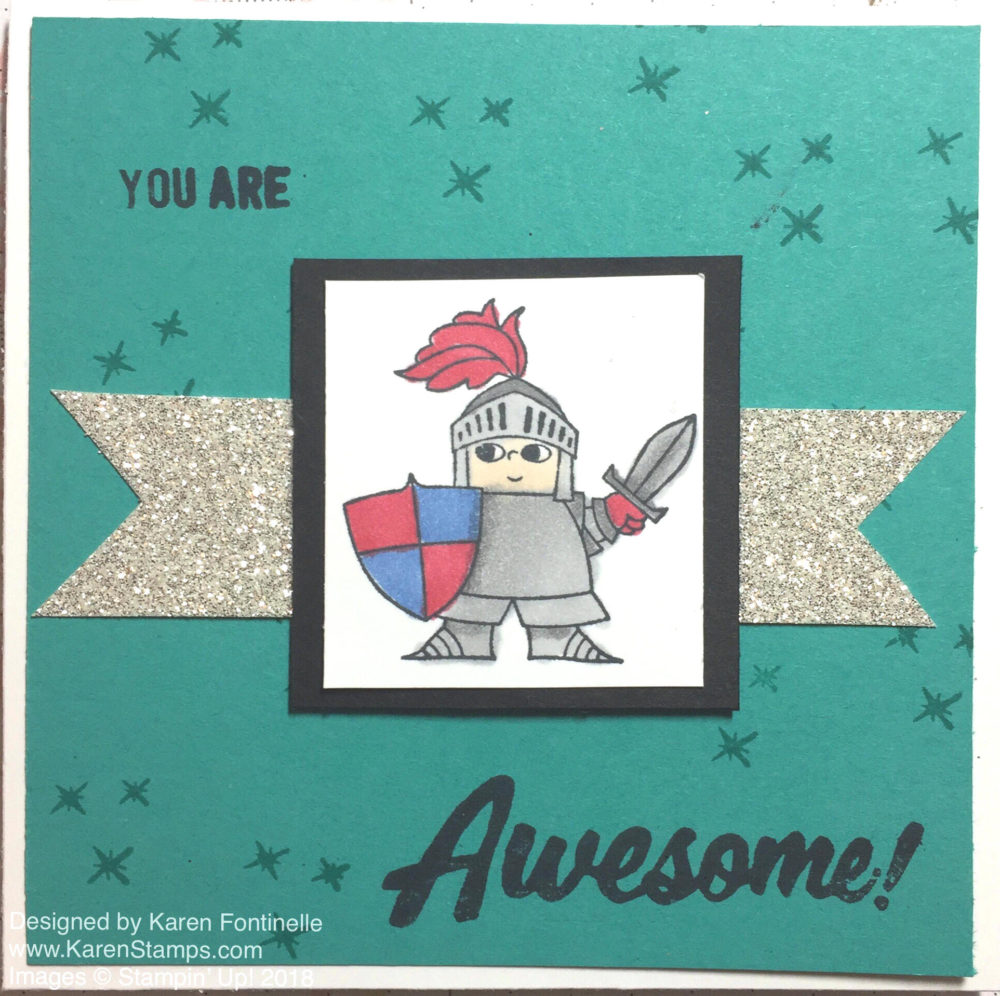
Magical Day Valentine You Are Awesome

Using a different greeting (“Awesome”) from the Marquee Messages, which the mom liked, but her son liked the greeting that came in the Magical Day Stamp Set.

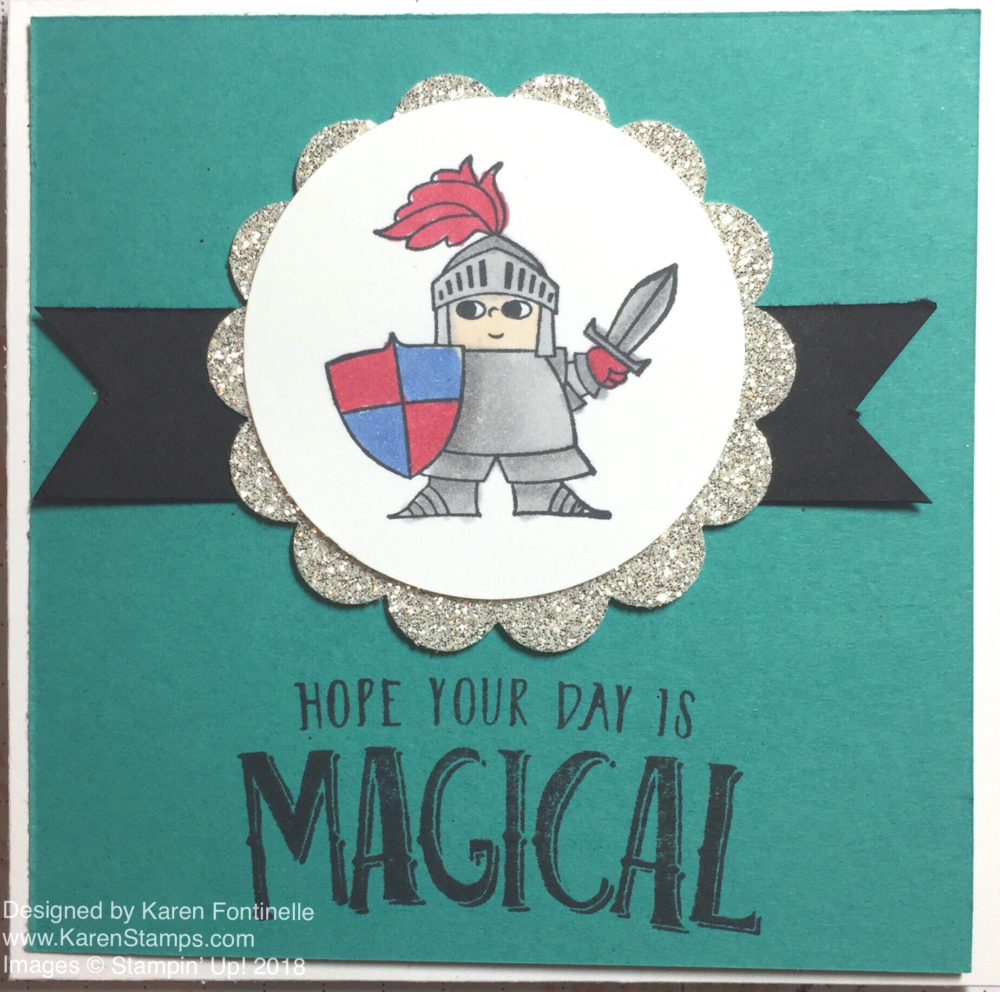
Magical Day Scallop Knight

This version I thought using punches was going to be quicker and easier that cutting or die-cutting squares. That’s something you have to consider when you are making a quantity of cards.  What can you mass-produce fairly easily?

In the end we made a card with the “Magical” greeting, the knight layered on a  piece of Silver Glimmer Paper punched with the Starburst Punch and that all layered over a Black Glimmer Paper (retired) strip flagged at the ends like this silver one.  And we stamped the little stars in the stamp set around on the card front in Versamark ink, which was better than using the Bermuda Bay ink.

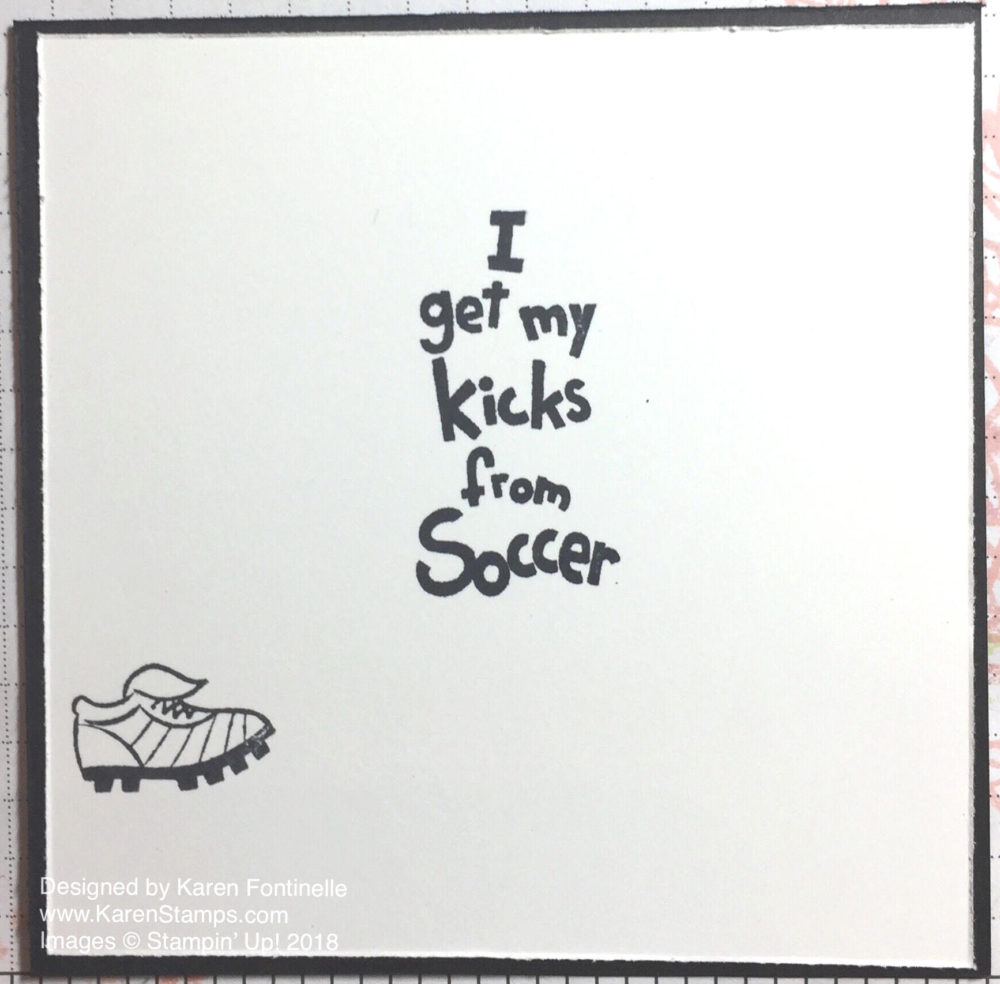
Soccer Valentine

Wyatt is a soccer player so I dug out a retired stamp set called I Love Soccer.  I bought this set in case I ever make scrapbook pages for my two boys who played soccer!  Luckily I met Wyatt who likes soccer valentines!  The grass is stamped from the Sheltering Tree Stamp Set. I stamped it in both Old Olive and Crumb Cake to look like some dirt mixed in. In the final version of the card (and late at night!) we decided it would be quicker to just stamp the “Woohoo” in Real Red ink right on the card instead of stamping and cutting out.  It looked fine!

All these cards were just one-sided (no fold) and the kids will sign them on the back.  Since this one is mounted on Basic Black, we added a Whisper White layer and stamped with some more soccer stamps.

Soccer Valentine Greeting

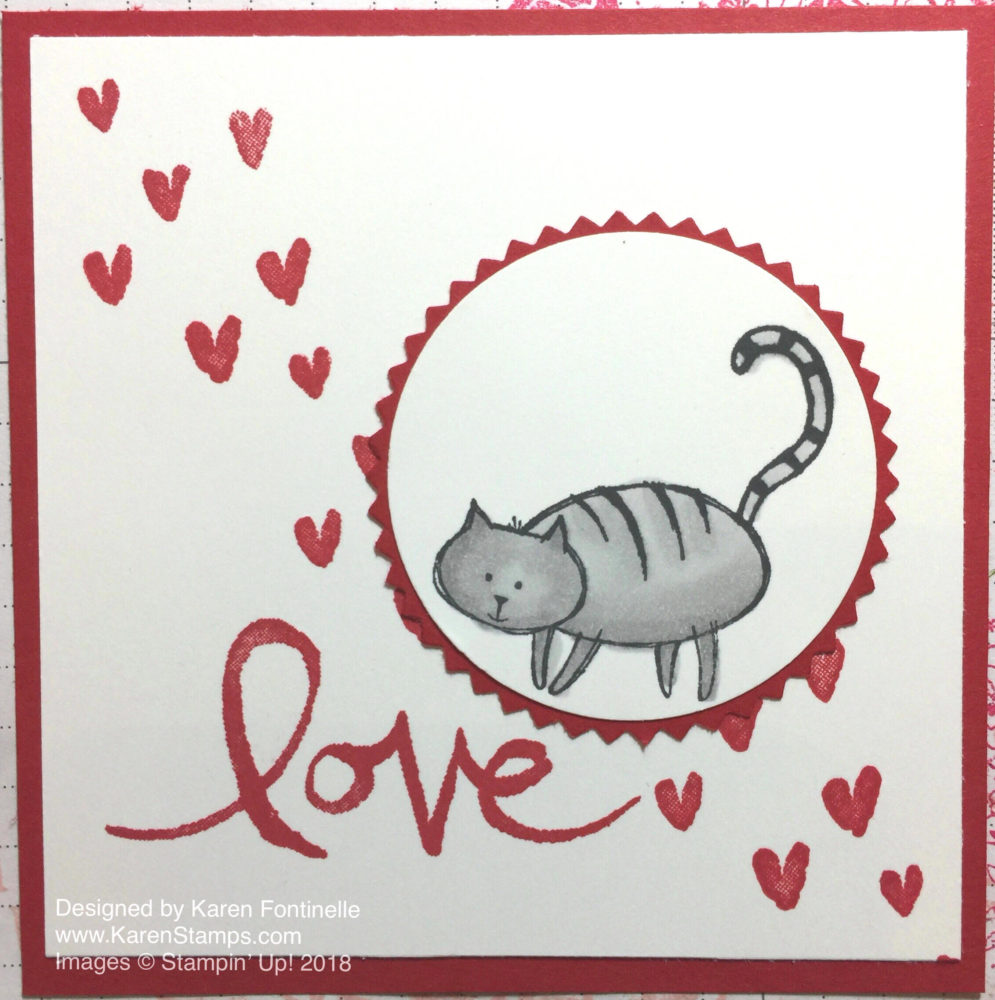
Last but not least, Elsie likes cats, so this was her card she chose!

Cat Love Valentine

The cat is from the retired stamp set Pun Fun. I got a lot of use out of that stamp set back in the day! The cat is stamped in Memento Black ink and colored in with the Smoky Slate Stampin’ Blends.  The cat is punched out with the 2″ Circle Punch and then layered on the Starburst Punch piece in Real Red.  The little hearts are from Heart Happiness (love that stamp set!) and the word “Love” is from Watercolor Words (another great set!).  Pretty quick and easy valentine to make for a cat-lover! If you are looking for a cat stamp set, the current one in the Annual Catalog is this adorable one, the Pretty Kitty Stamp Set.  If you need a dog, order this stamp set, Bella & Friends.  This stamp set was designed by one of the Demonstrators who reached $1 million in sales, Angie Juda.

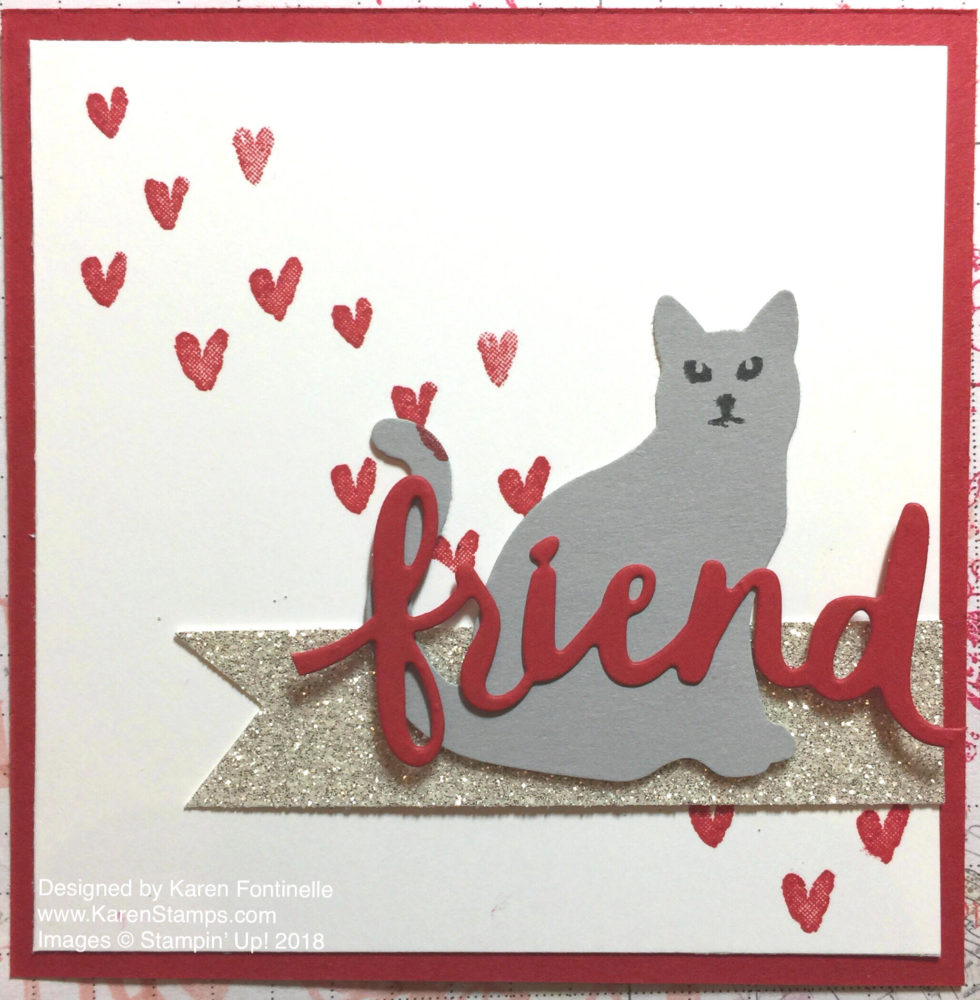
Cat Punch Friend Valentine

This was another potential sample using the Cat Punch.  Her eyes are stamped from the Halloween set, Spooky Cat (retired).  The “friend” is die cut with the Lovely Words Thinlits Dies.  It comes attached to an oval, but to get only the word, just snip the ends to separate.

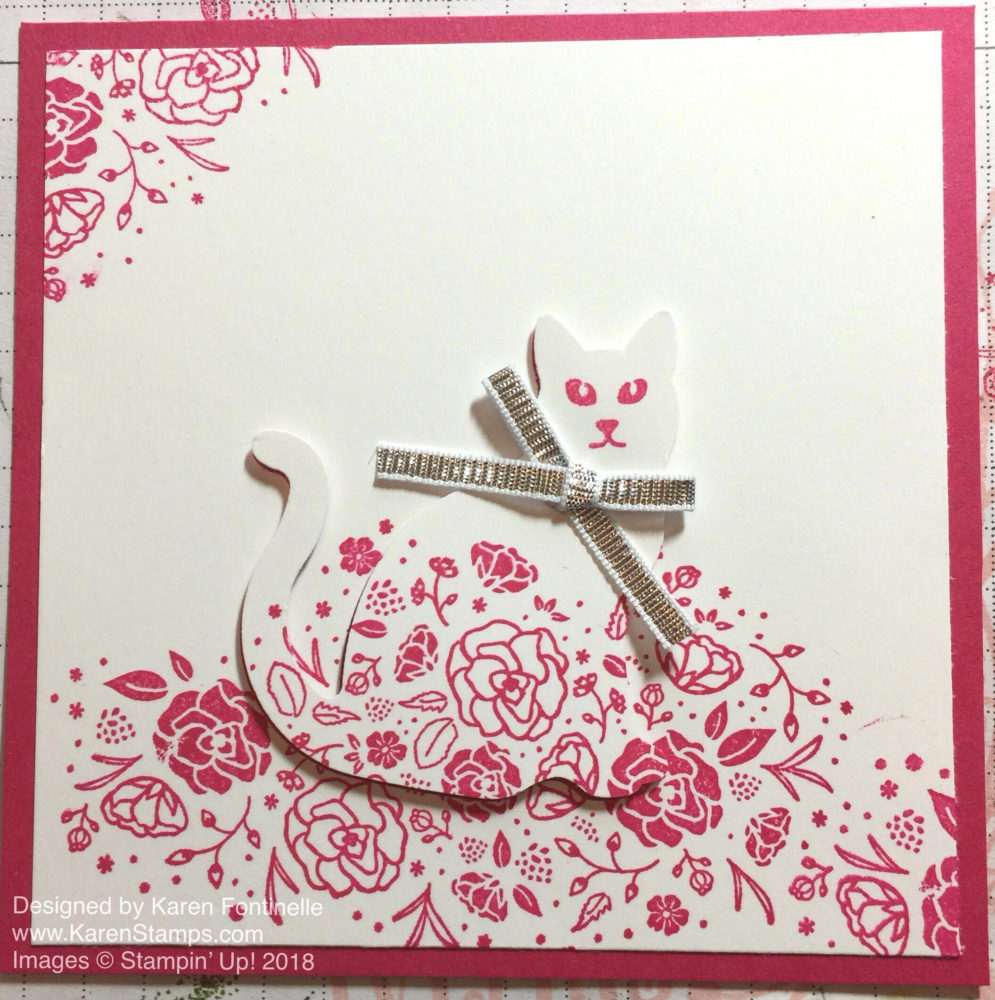
Cat Punch Eclipse Technique Valentine

And this was another sample I played around with.  I stamped the Whisper White in Melon Mambo with the beautiful flowery stamp in the Wood Words Stamp Set.  Then I used the Cat Punch to punch out the cat. Next, adhere the Whisper White layer to the Melon Mambo card base. Pop the cat up on Stampin’ Dimensionals and adhere it in the empty space.  This is called the Eclipse Technique and you can do it more elaborately with the Large Letters and Large Numbers dies, but it is very easy with just a punch!  She may give this card to one of her teachers.

For more ideas for class valentines for kids, check out my blog post from last year to see the valentines I designed for the kids!

So there you have lots of valentines ideas for kids!  I sure wish I’d know about Stampin’ Up! back when my kids were in elementary school.  I hope the schools don’t give up the tradition of handing out valentines. I think it is one where they can all participate and enjoy receiving their little cards and treats!  It’s even more fun if you can stamp some valentines, perhaps with your child’s help, and have a Valentine Extravaganza making their class valentines!

Simple Hearts Card For a Valentine

Simple Hearts Card For a Valentine

Valentine’s Day is coming soon so here is a Simple Hearts Card For a Valentine! I decided to use the color scheme from the Painted With Love Designer Series Paper, so I chose Melon Mambo and Calypso Coral, which is an unusual color combination.  You can certainly use this card for other occasions besides Valentine’s Day!

The card base is Melon Mambo with a layer of Calypso Coral. The top layer is Whisper White with a thin strip of the Painted With Love DSP.  I needed some piece of that paper so you could see the color combination.

I stamped two hearts from the Heart Happiness Stamp Set and cut them out.  This is a great stamp set to have on hand because hearts, like stars, can be used for many occasions!  I love this heart stamp! A grouping of the little hearts are also in this stamp set so you can stamp several little hearts at one time.  The greeting is from the Petal Palette Stamp Set.

Just to go with the gold accents, I used a piece of the 1/8″ Gold Ribbon to tie around the top layer.  This ribbon has been around for years and I use it a lot.  It also comes in silver. It’s perfect for when you need a little something.

This is the weekend to be making valentines and getting them in the mail. So I hope you can use this simple card with the hearts for a valentine idea!

SHOP STAMPIN’ UP! ONLINE HERE!

A Cupcake Box Made With Designer Paper and a Mini Pizza Box For Valentine’s Day

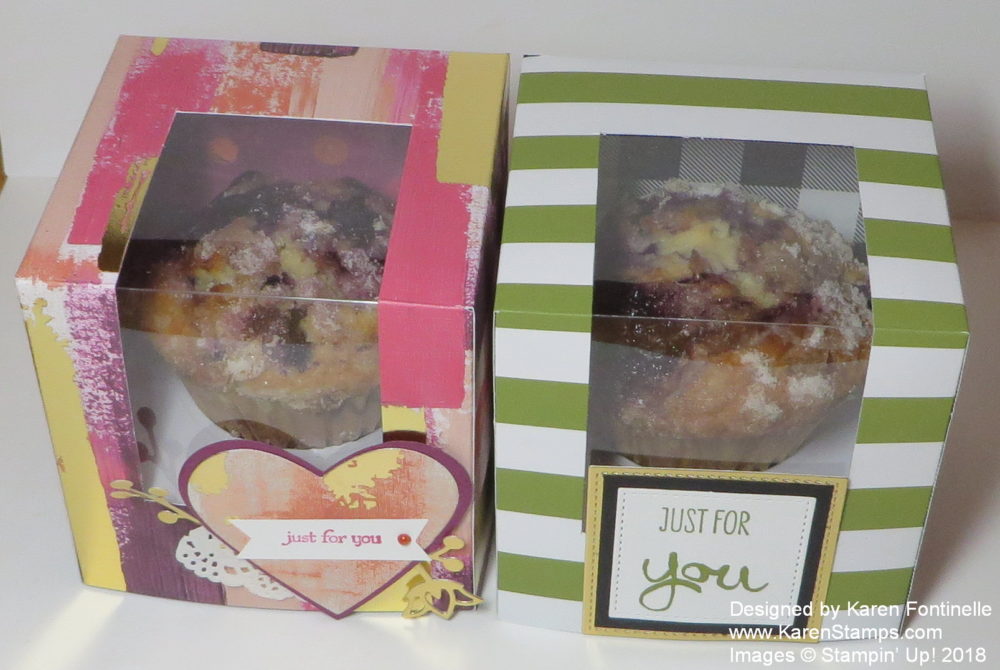
Cupcake Boxes

The other day, Sara Douglass, CEO of Stampin’ Up!, did a quick Facebook Live video about how to make a cupcake box like these.  The fact that she did it first thing in the office in just a few minutes before she had to dash off to a meeting, tells you that these are not real complicated!

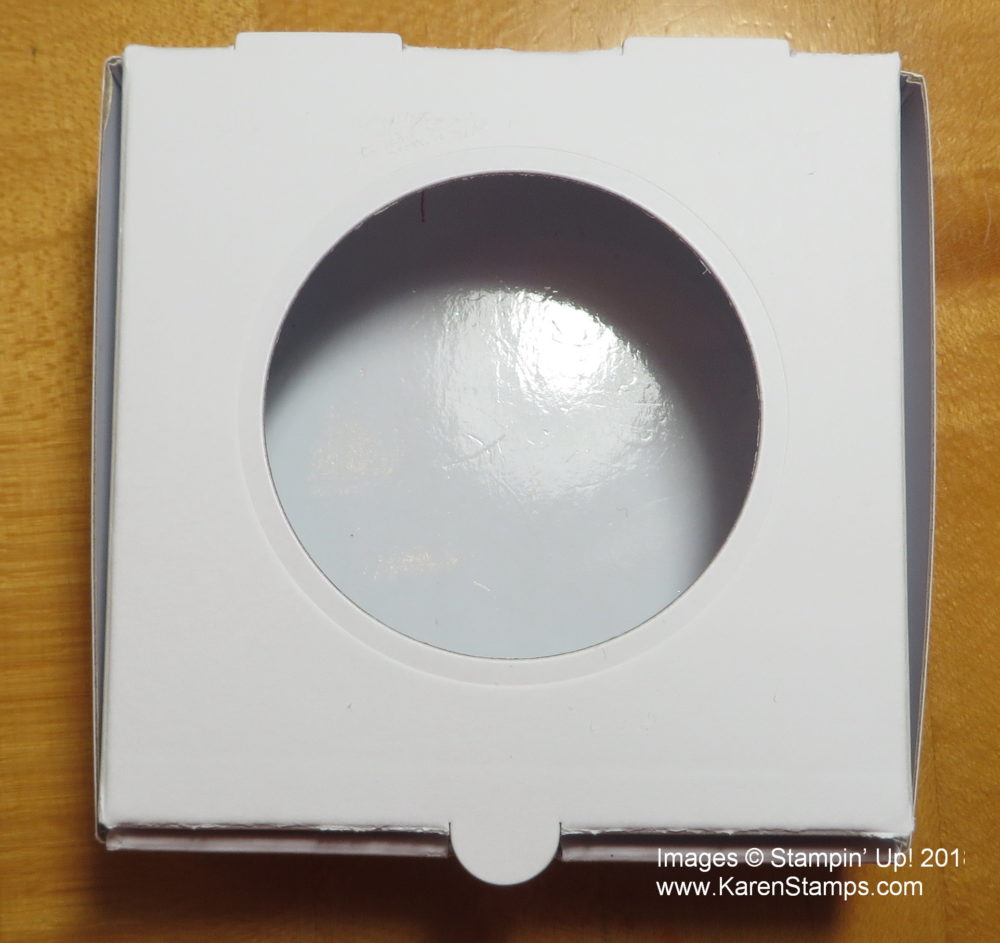
This cupcake box is really one of the Mini Pizza Boxes for the base to hold the cupcake and then the paper “lid” with a cutout for a window sheet or piece of plastic for the window to see the cupcake inside…..or in my case, a homemade blueberry muffin! The lid of the Pizza Box has a hole cut in the center using one of the Layering Circle Framelit Dies which holds the cupcake in place.  You can make that hole as small or as large as you need it to be according to the size of the cupcake or treat. Just make sure you are clear on which area of the box gets the hole!Pizza Box Lid Hole

Like Sara, I chose one of the papers in the Painted With Love Specialty Designer Series Paper package. Each sheet has gold foil accents on it, so it is really a beautiful paper! No matter which design you choose! Your Stampin’ Trimmer really gets a workout cutting and scoring this paper that will become the box, but it is really handy for cutting out that window in the middle of the paper.  The second box is made with a paper in the Merry Little Christmas package (Retired). This one was going to a man so I didn’t want it to be Valentiney!

Unfortunately, the Fast Fuse Special sold out early this morning! I have edited this post but you can still enjoy the Cupcake Box! So sorry if you missed it….and I know you did miss it!  So did I!

Watch Sara’s Facebook video about making the Cupcake Box!

Cupcake Box Diagram Sara DouglassHere is the diagram Sara made with measurements.  If you need more info just go to her Facebook page HERE.

Try making a Cupcake Box for a cupcake, muffin, or small treat for any occasion, not just Valentine’s Day!