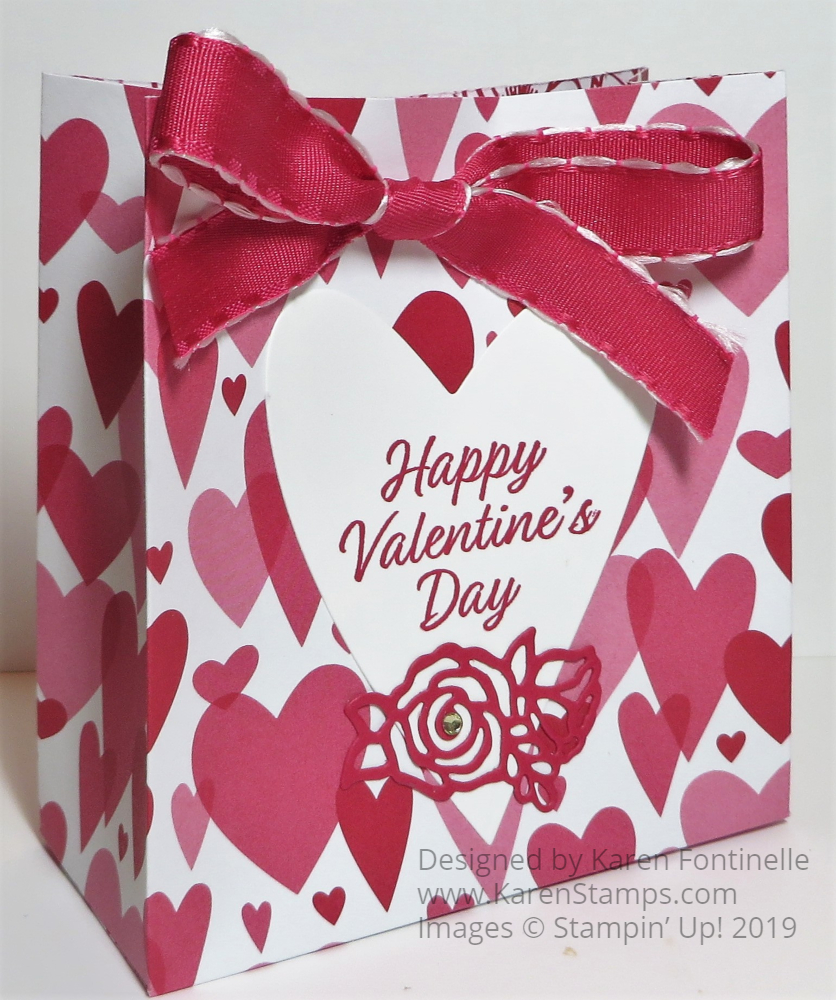
You’ve got to make this Easy Valentine’s Day Designer Paper Gift Bag! It just uses half a sheet of designer paper and you make it like a 2-4-6-8 box or bag, except the measurements are just a little different since it is a wider bag. You can make it with any paper, even cardstock. Just be careful if there is a pattern that you score it the correct way so your pattern is going in the right direction. For example, my hearts could have been upside down.
Start with a sheet of 6″ x 12″ designer paper. I used the hearts sheet from the All My Love Designer Series Paper. Place the paper in the Simply Scored scoring tool with the 12″ side at the top or use the Stampin’ Trimmer. Score at 4″, 5 3/4″, 9 3/4″, and 11 1/2″. Turn the paper so the short edge is at the top and score at 1 3/4″. This will make the bottom flaps of the bag so make sure your pattern is going the right way and that the bottom is going to be where you want it! Now take some scissors and cut those short bottom tabs up to the 1 3/4″ score line. Cut off the little 1/2″ tab on the bottom. Fold on all the score lines and crease well with the Bone Folder. Adhere the tab on the end to the other side to assemble the bag. Then adhere the flaps on the bottom.
Here’s another bag I made of the same size and design back in April.
You can leave the bag open at the top or for this one, I punched two holes in the top and draw closed with a ribbon. I used the new Lovely Lipstick ribbon in the All My Love Combo Ribbon Pack.
To decorate the bag die cut a large Whisper White heart with the Be Mine Stitched Framelits Dies and stamped with the greeting in the Meant to Be Stamp Set. Really, the bag looked fine with just that heart adhered to the front. I could have stopped there. But I already had a flower diecut from the Be Mine Dies so I adhered that at the bottom of the heart and added a Rhinestone Basic Jewel in the center.
Fill the bag with a small gift or some favorite candies! You are all set to give someone this Easy Valentine’s Day Designer Paper Gift Bag!

