This weekend I finally got busy and made my Frightful Wreath Simply Created Kit for Halloween, since time is getting close! This is a great kit! It came together real easily as far as just the wreath and rosette are concerned! Complete directions are included with the kit, plus Stampin’ ! has a video. All you need is a hot glue gun. The Stampin’ Up! Silicone Craft Sheet is really handy to have when you are using a hot glue gun plus for making the rosette. The rosette piece comes already scored, all you have to do is accordian fold, adhere the ends, put a glob of hot glue on the silicone sheet and plunk the rosette down with the center in the hot glue to hold it. Then you get to ink up the doilies (I still have the black fingers and fingernails to show for it!) and finish off the front. I neglected to purchase the coordinating stamp set, Frightful Wreath Photopolymer Stamp Set, so I had to dig out a retired Halloween set for a greeting that worked, plus I added to stamped images from Freaky Friends on the ends just for fun!
The kit also contains all the beads and wires to make the spider for the wreath! I was anxious to make it, but when I started, I thought, “This is why I am a stamper and not a bead person!” But with the directions plus the video, plus a little patience on my part, it didn’t take long until I was moving along getting all those beads on the spider legs! I like the way my spider turned out. I just placed him on the wreath for the photo, not sure if I will glue him on or let him dangle!

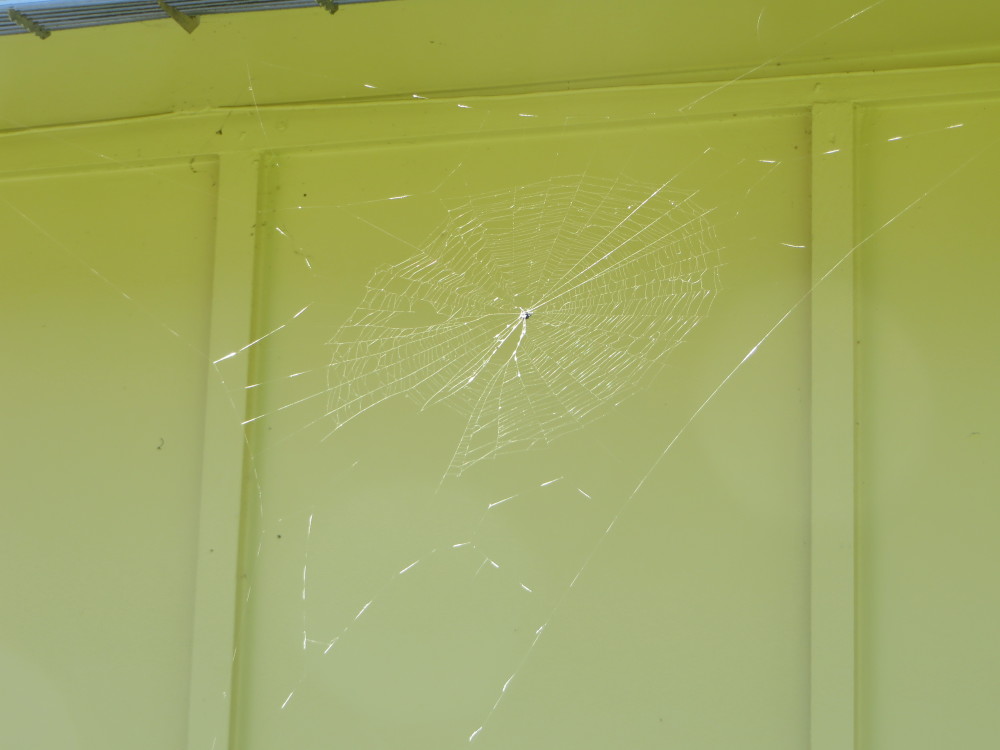
Now if you want to see a real spider web, much like one I found on my bushes last year, here is one I discovered this weekend when I was taking pictures of our pretty flowers in the backyard. When the breeze blew just right, I could see the web glistening in the sunlight. It started up at the edge of the garage and went at a diagonal all the way down to the yard!
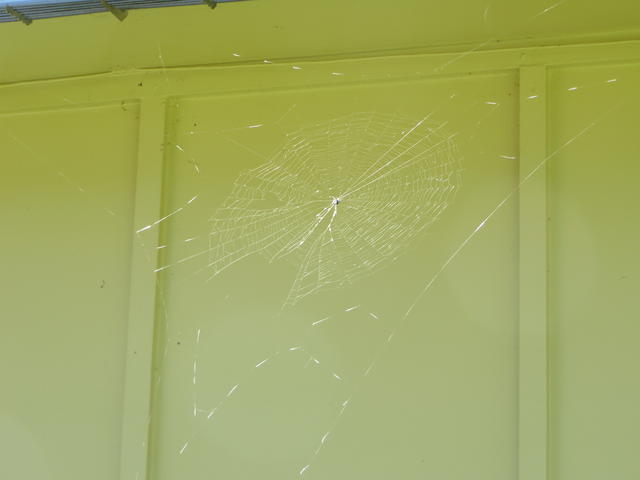
So there you have it! Pretend spooky spider and real spider and web!
Don’t forget: Today is the last day for the Stamp, Stock & Save Sale! Be sure to look it over. Do you have all the foam ink pads yet? If not, this is a good chance to get all of them at a discount! All individual ink pads are 15% off! You can get assorted card stock families 15% off, as well as Medium Envelopes, Whisper White card stock, Fast Fuse Adhesive and refills, plus a few stamp sets at 20% off. Don’t miss it! Last day, Monday October 6!
It’s also the last day for the Stampin’ Up! Weekly Deals! Good stuff!
One more thing! My “12 Weeks of Christmas” emails have started! If you don’t want to miss any more of them, please sign up for my Mailing List in the red box on the right of my blog. Next issue comes out on Wednesday!